Configuration
🧩 Overview
Bot v2 configuration help us to allow the user to customize the bot corresponding to the width, name, avatar and logo of the bot. Bot configuration screen is designed to simplify the process of creating and configuring bots tailored to your specific business needs. Here, you can create, edit, set default, and delete your custom bots.
🛠️ How to Create Bot
Step 1:
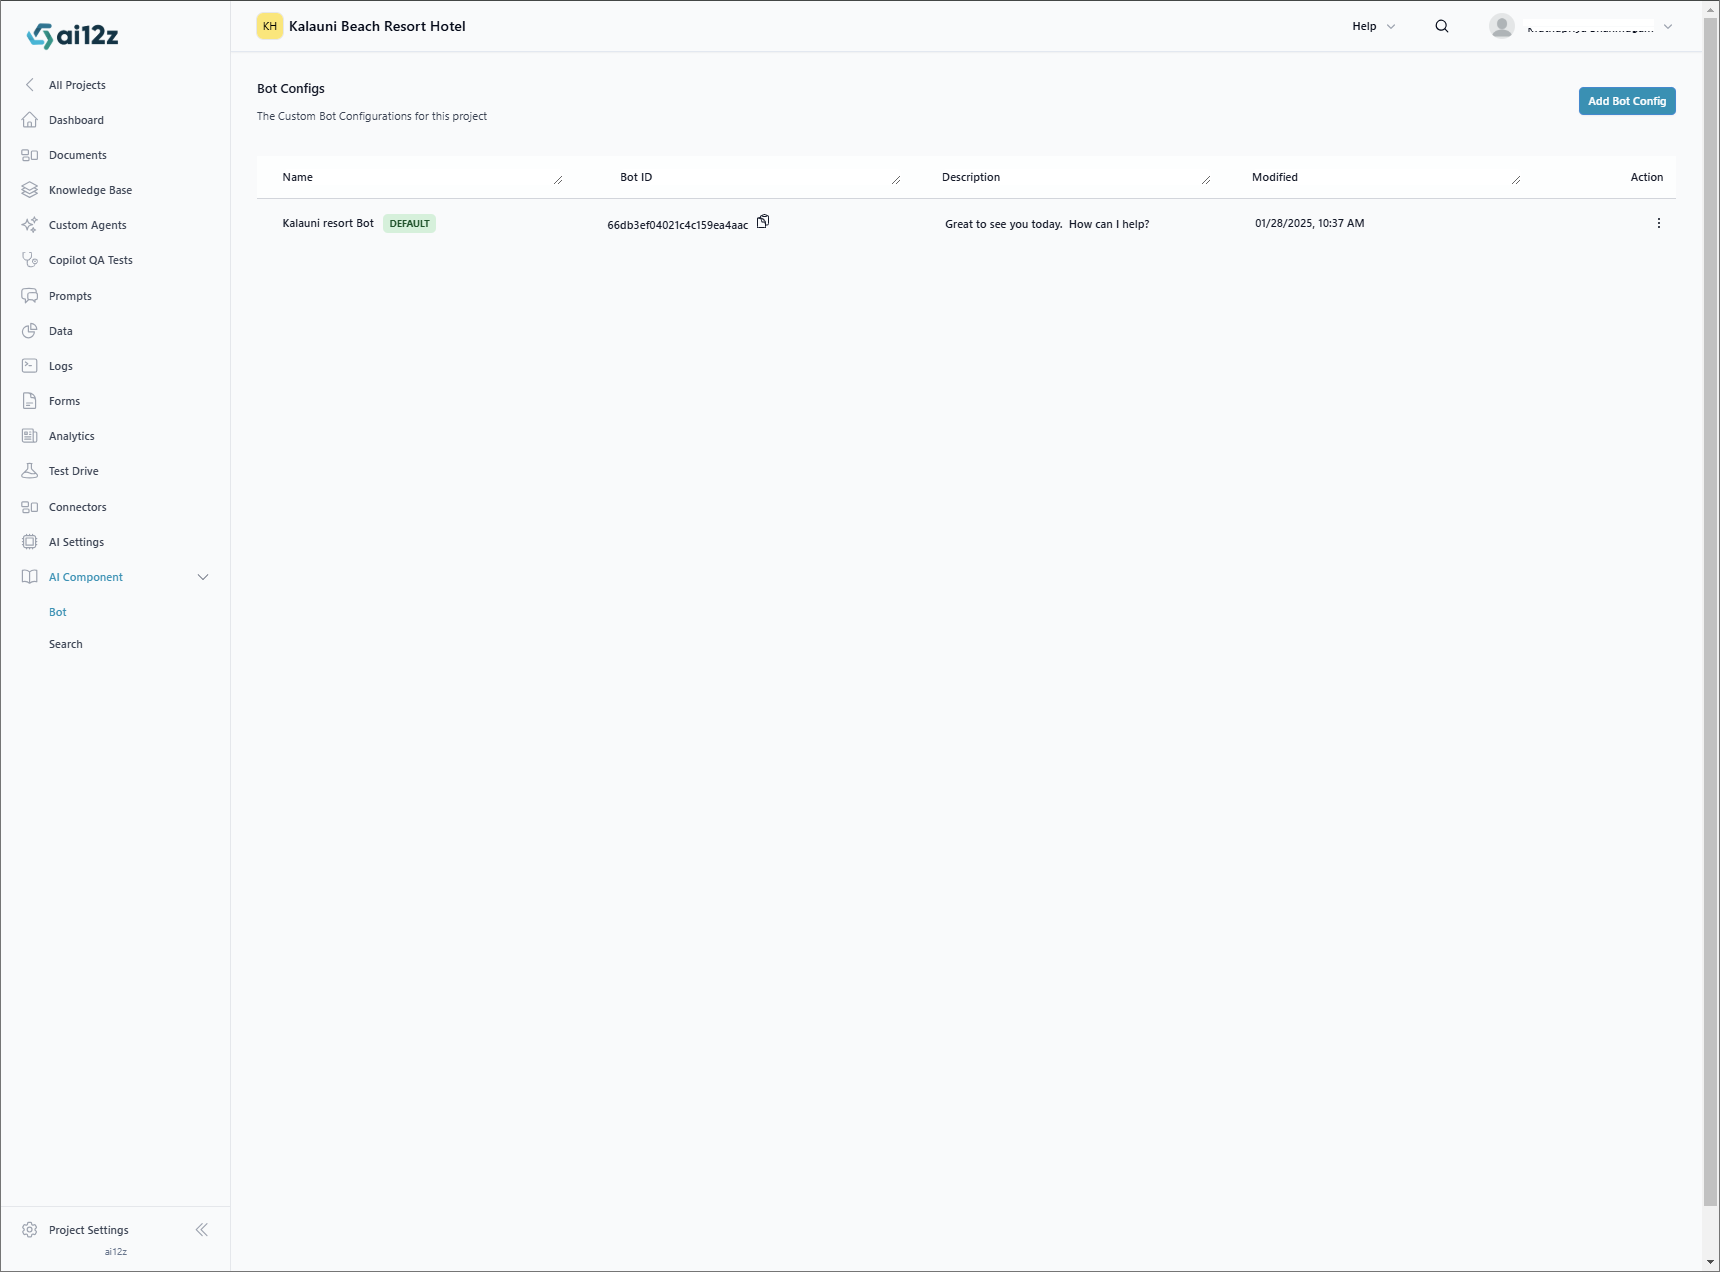
Go to the project, select the Controls menu from the left navigation panel, and click on the Bot menu to create a new bot configuration.
Step 2:
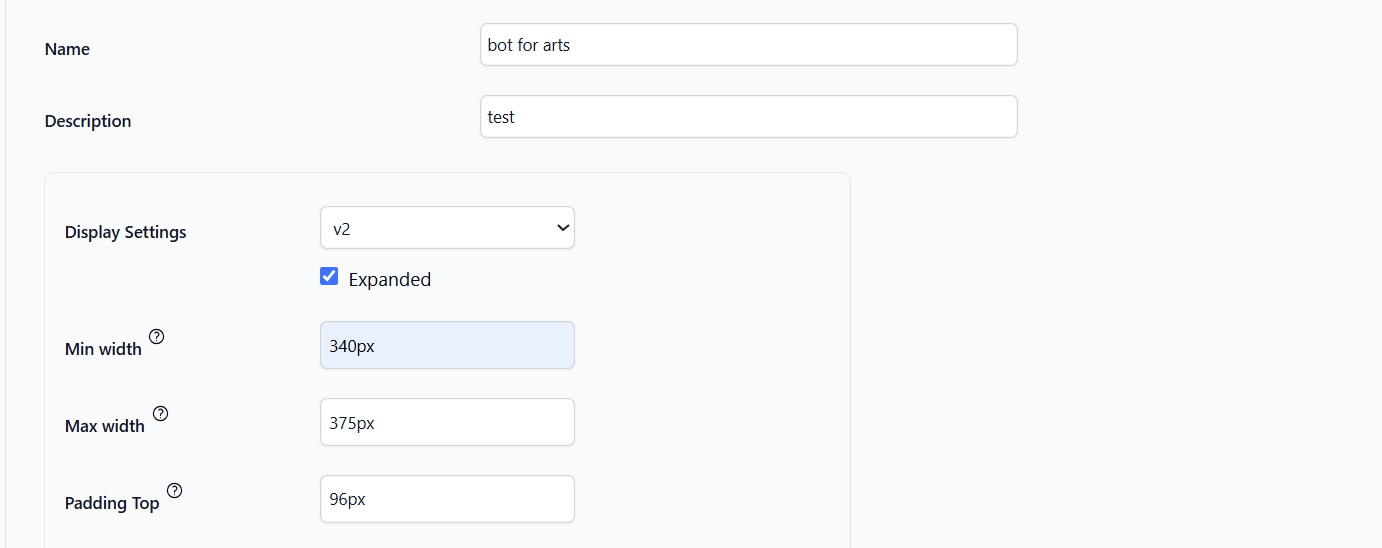
Select botVersion as v2. Customize your bot here with a set of predefined settings.
⚙️ Configuration Settings
- botName - Config the bot name which is shown on the header section of the chatbot.
- botPosition - Config the bot position where the bot should be placed on the screen like bottom left or bottom right.
- botLogo - Config the bot logo which is shown on the header section of the chatbot.
- botAvatar - Config the bot avatar which is shown next to the bot messages.
- botPlaceholderText - Config the bot placeholder text which is shown in the text field.
- botWidth - Config the bot width which allows both % as well as px.
- botHeight - Config the bot height which allows bot % as well as px.
- imageUpload - Enable or disable the feature of image AI on the bot.
- maxQuestionPerSession - A session allows only a fixed number of questions. By default, it set to zero.
- autoResetTimer - The timer will reset itself automatically after a set period. By default, it set to zero.
- messageWhenReachTheLimit - A message will be displayed when the limit is reached.
- buttons - The button array helps us to configure the Hamburger menu on the bot. The label under the button array will show it in the menu list.
- audioType - This will allow us to choose the audio type for our response based on the selection of type with default and google.
- voices - This will allow us to pick the voices based on the selection of audio type. If default is selected, load the default in-built voices and if google is selected, load all google voices.
- welcome - The welcome object allows us to configure the welcome screen in the bot. Here are the properties which we mentioned under welcome object.
- image - Shown an image on top of the welcome screen.
- message - The Message text shown under the image and center of the bot welcome screen.
- buttons - The button array which is located under the welcome object will allow us to configure in the welcome screen.
🎨 Style Customization
ai12z-bot {
  --ai12zBot-v2-title-color: #2095ae;
  --ai12zBot-v2-title-font-size: 20px;
  --ai12zBot-v2-toolbar-icon-color: #2095ae;
  --ai12zBot-v2-link-color: #2095ae;
  --ai12zBot-v2-link-hover-color: #2095ae;
  --ai12zBot-v2-dropdown-bgcolor: #2095ae;
  --ai12zBot-v2-dropdown-font-color: #fff;
  --ai12zBot-v2-searchbar-border-color: #2095ae;
  --ai12zBot-v2-searchbar-submit-bgcolor: #2095ae;
  --ai12zBot-v2-searchbar-submit-color: #fff;
  --ai12zBot-v2-searchbar-mic-color: #2095ae;
  --ai12zBot-v2-searchbar-plus-icon-color: #2095ae;
  --ai12zBot-v2-content-background: linear-gradient(190.82deg, #00ffd8 -69.57%, #2fd0b7 95.11%);
  --ai12zBot-v2-default-avatar-color: #2095ae;
  --ai12zBot-v2-user-bubble-background: #2095ae;
  --ai12zBot-v2-user-bubble-font-color: #fff;
  --ai12zBot-v2-timestamp-font-color: #888;
  --ai12zBot-v2-timestamp-font-size: 12px;
  --ai12zBot-v2-searchbar-background: linear-gradient(to right, #2095ae, oklch(0.85 0.09 202.36));
  --ai12zBot-v2-fab-button-background: linear-gradient(to right, #2095ae, oklch(0.64 0.11 202.5));
  --ai12zBot-v2-modal-backgroundImage: linear-gradient(
    248.35deg,
    rgb(32, 149, 174) -11.3%,
    rgb(244, 244, 254) 16.44%,
    rgb(255, 255, 255) 28.3%,
    rgb(230, 247, 251) 89.69%,
    rgb(192, 225, 235) 101.94%
  );
}