Configuration
🧩 Overview
Bot configuration help us to allow the user to customize the bot corresponding to the width, name, avatar and logo of the bot. Bot configuration screen is designed to simplify the process of creating and configuring bots tailored to your specific business needs. Here, you can create, edit, set default, and delete your custom bots.

🛠️ Step 1 Create a Configuration
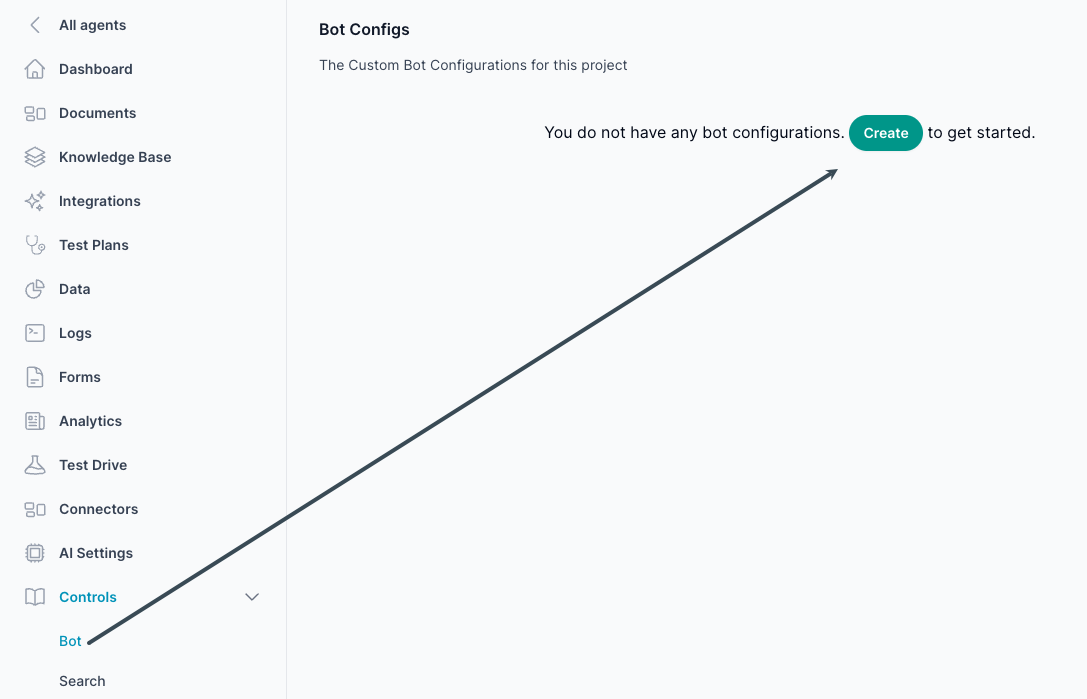
Go to the Agent, select the Controls menu from the left navigation panel, and click on the Bot menu to create a new bot configuration.
🛠️ Step 2 Name your configuration & Theme
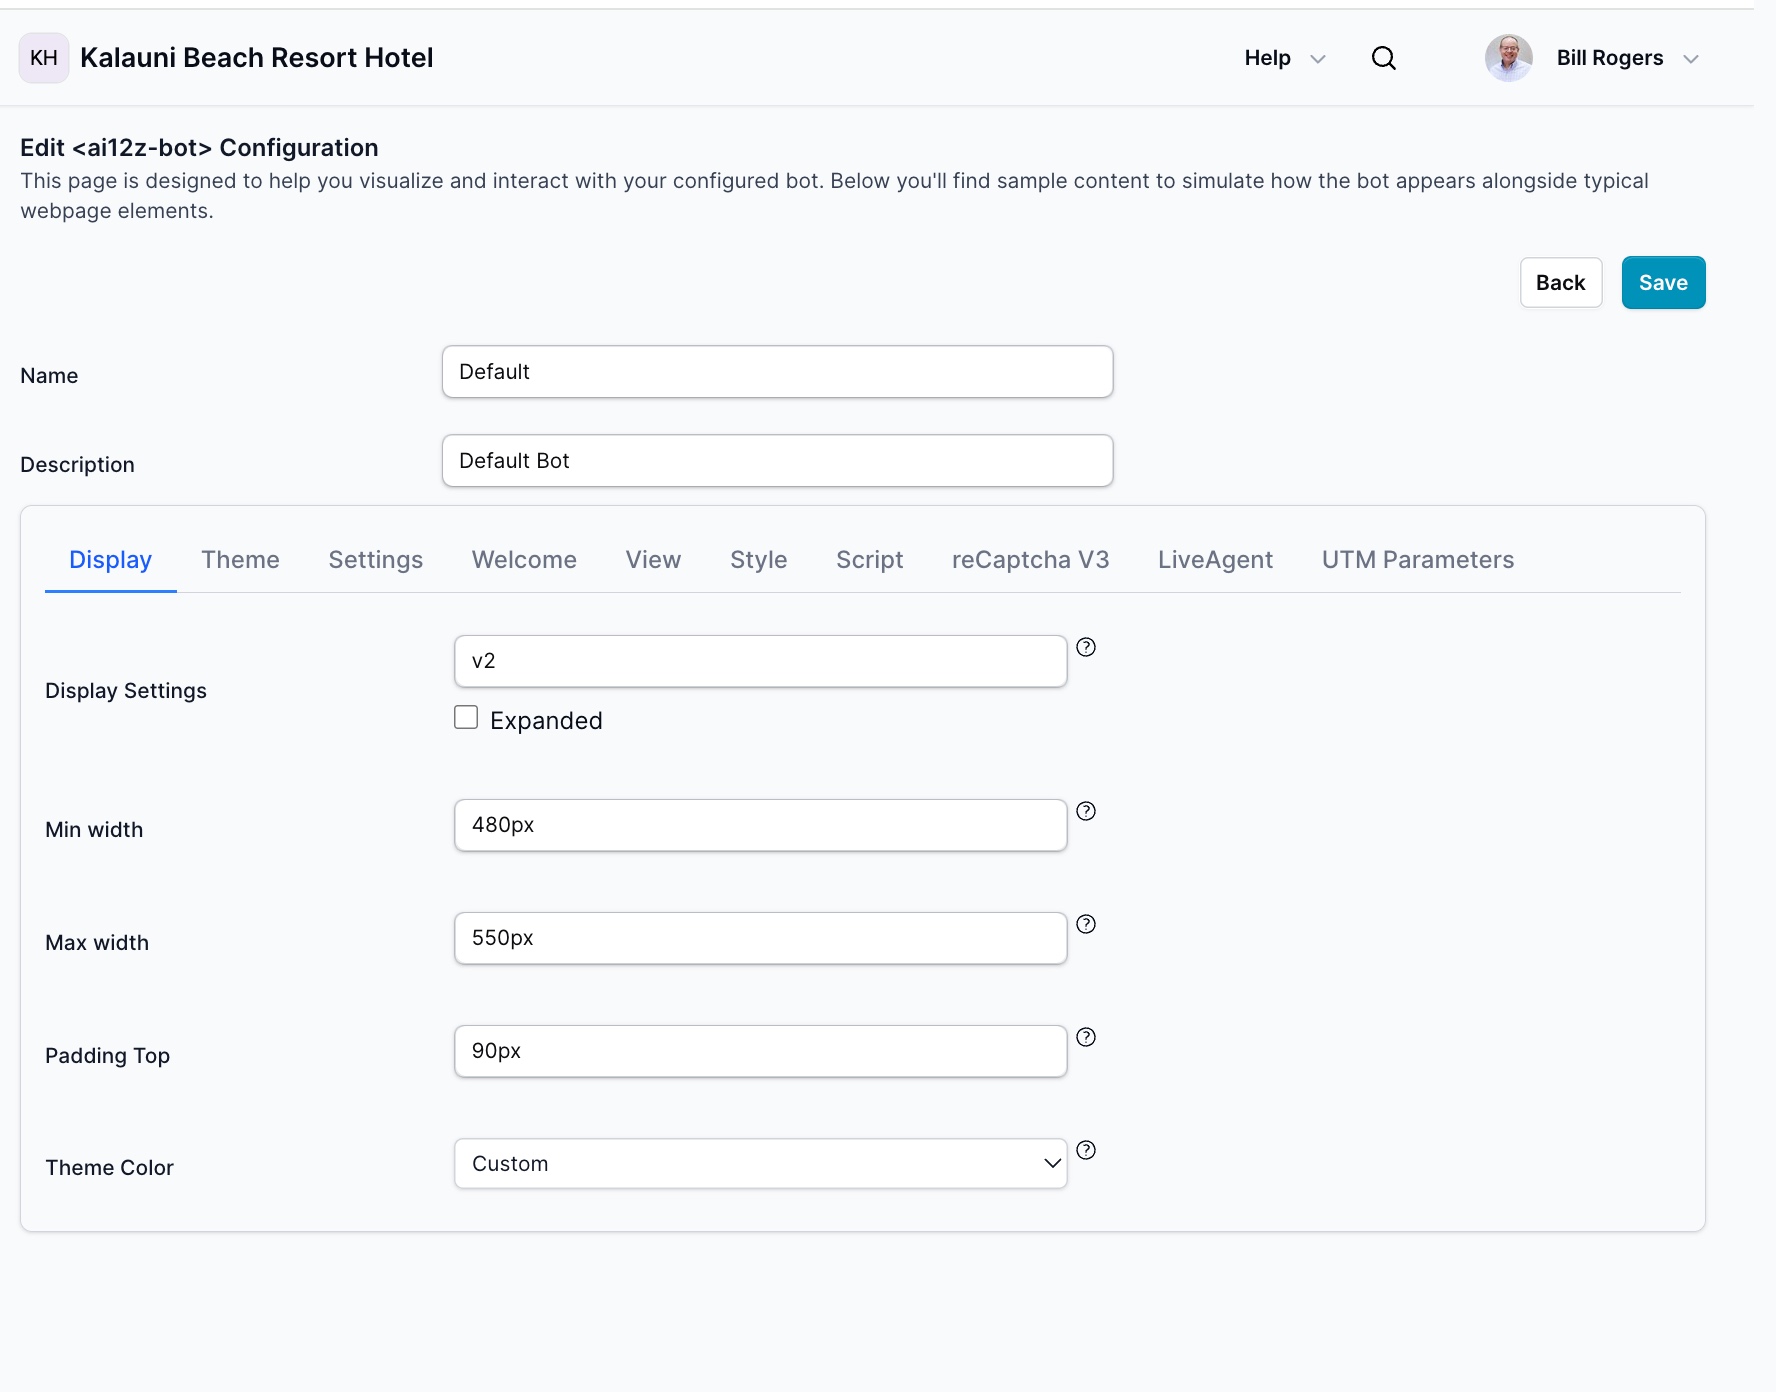
Name: Name your configuration. This is only used when displaying the list of configurations. The first configuration is typically named "Default".
Description: The description of the configuration. This is only used when displaying the list of configurations and helps identify the purpose of each configuration.
Display tab
Manage the width and height of the Bot, and the mode of how the Bot opens. The check box for Expanded view, changes the behavior of the Bot when the page loads. If unchecked it will display as
Expanded view Checked

Bot
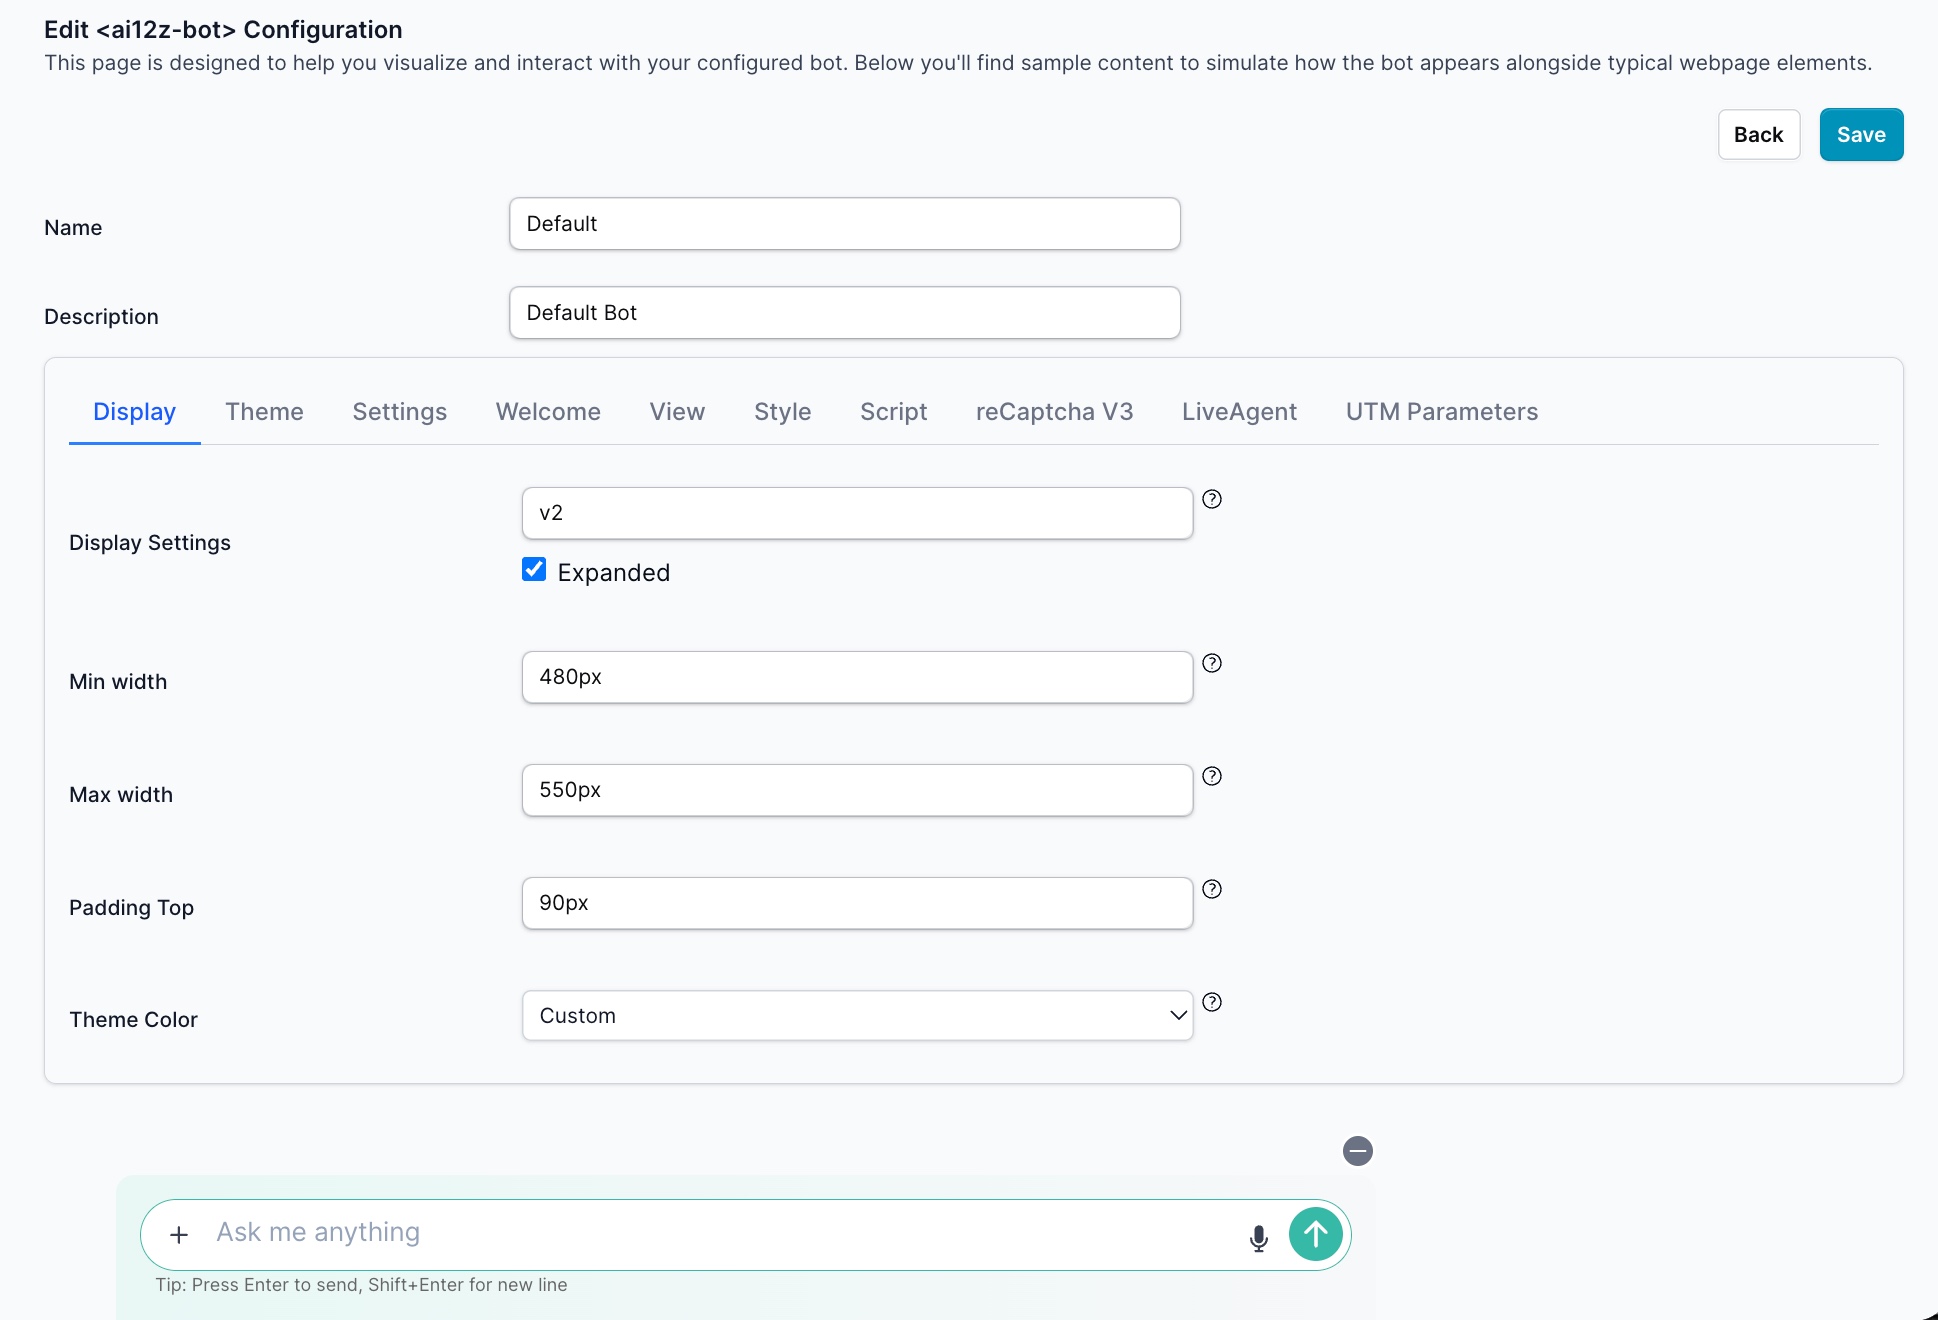
Expanded view Unchecked
Theme Selection
Choose your bot's visual theme from the Theme Color dropdown. The theme controls the overall appearance, colors, and styling of your bot interface.
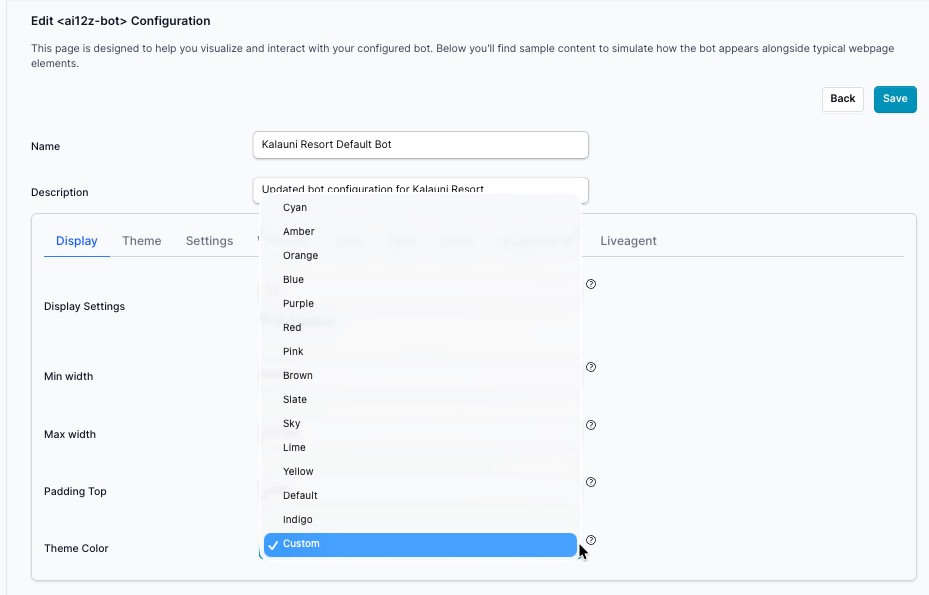
Available Theme Options:
Pre-built themes include: Default, Cyan, Amber, Orange, Blue, Purple, Red, Pink, Brown, Slate, Sky, Lime, Yellow, and Indigo. Each applies a standardized color scheme to the bot interface with no additional configuration required.
Select Custom to create a fully personalized theme that matches your brand identity.
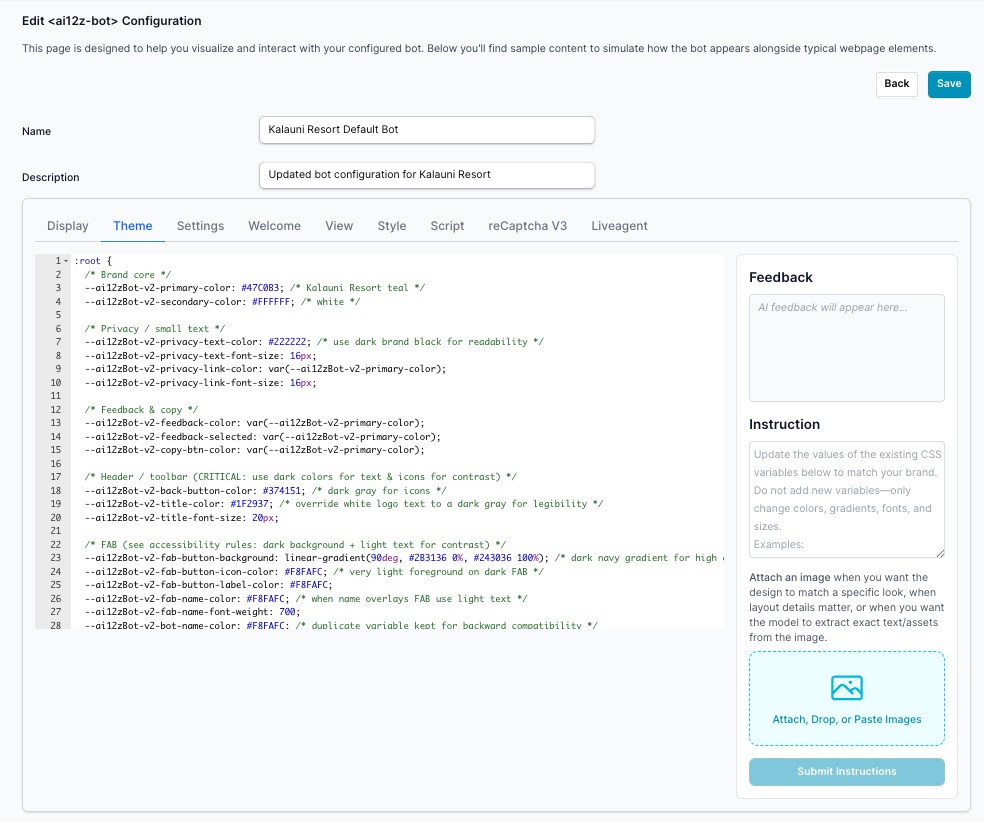
Custom Theme Creation
Selecting Custom enables the Theme tab in the bot configuration. The Theme tab displays a CSS variables editor on the left, pre-populated with your bot's current theme values, and a Vibe Coding panel on the right.
Tip: Before creating a custom theme, complete the AI Brand Creation process first. Your saved brand guidelines are automatically referenced when generating a custom theme, so the output will already reflect your brand's colors, fonts, and style.
To create a custom theme:
-
Set up Brand Guidelines (Recommended)
- Navigate to AI Settings → Brand Guidelines
- Follow the AI Brand Creation guide to paste your Figma file URL, or Figma Design Tokens JSON, plain text brand guidelines, or upload screenshots of your website
- Save your brand guidelines
-
Select Custom Theme
- Return to your bot configuration
- Choose Custom from the Theme Color dropdown
-
Customize with Vibe Coding or Manual Editing
- The Theme tab opens with a CSS variables editor pre-loaded with the default custom theme
- To use Vibe Coding: Type your instructions in the Instruction box on the right panel — for example, "Update the primary color to match our teal brand" or "Apply our brand guidelines to this theme." You can also paste Figma Design Tokens JSON directly into the instruction box, or attach screenshots for the AI to match. Click Submit Instructions and the AI updates the CSS variables for you
- To edit manually: Modify the CSS variable values directly in the editor on the left
- Review AI feedback in the Feedback panel, then click Save
Benefits of Custom Theme with Brand Guidelines:
- Brand Consistency — Automatically matches your website's visual identity
- Professional Appearance — Cohesive design that reflects your brand personality
- Time Saving — No manual color picking or style configuration needed
- Responsive Design — Optimized for all device sizes while maintaining brand integrity
Settings tab
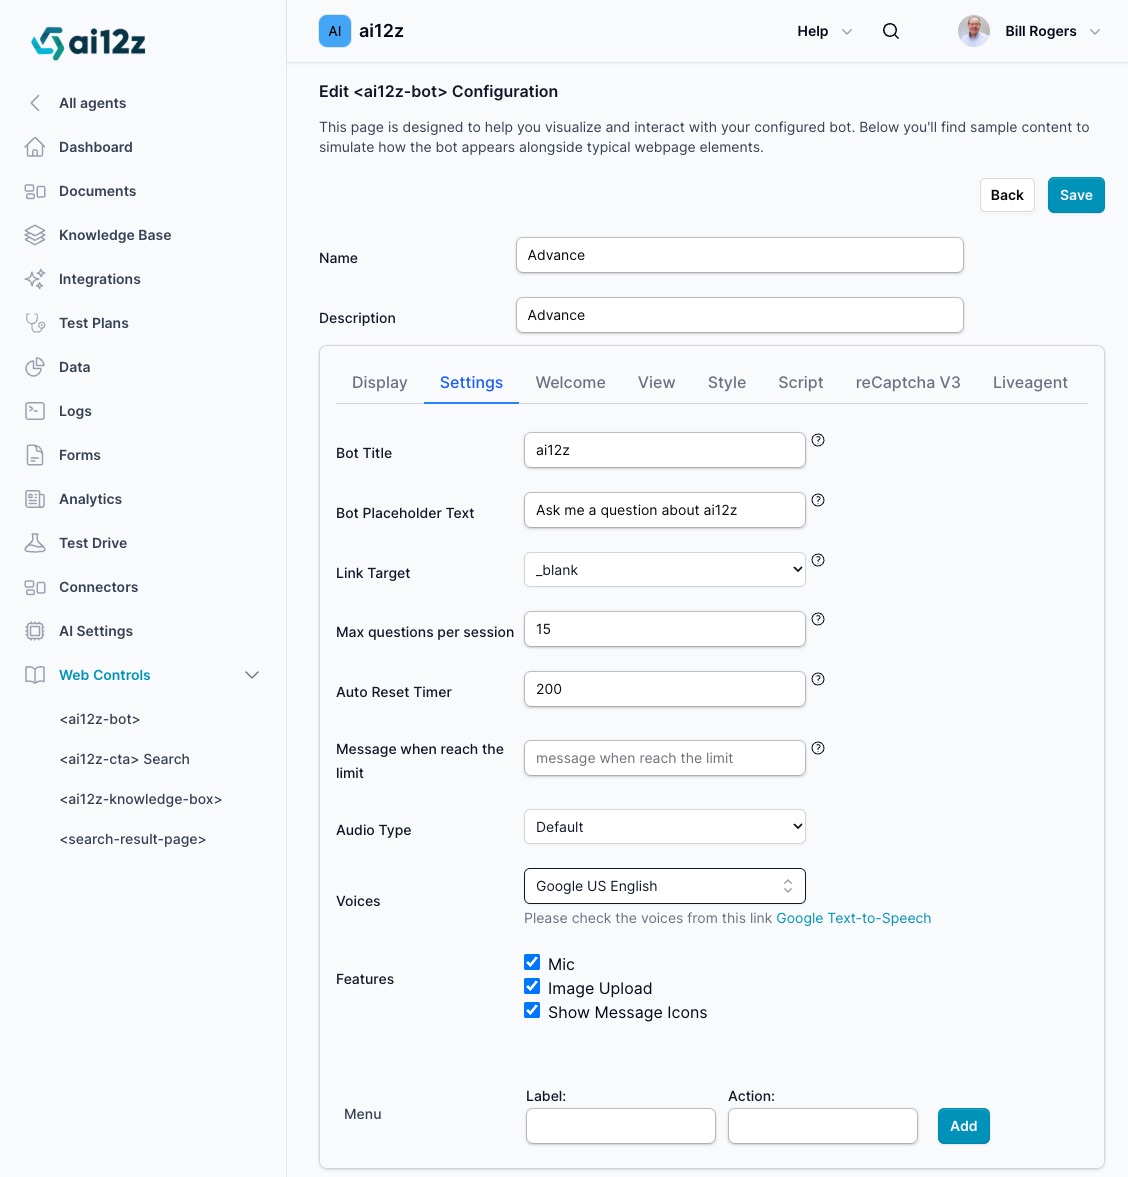
- Bot Title Naming your Bot, this will show up when the Agent responds to the user
- Bot Placeholder Text The text seen in the search text input
- Link Target When clicking on an anchor tag, does it replace the page, does it open a new tab
Preventing Chatbot Abuse and Token Drain
Overview
If a public-facing chatbot is targeted by automated spam (bots/scripts), it can generate a large number of rapid AI requests and consume tokens. ai12z provides two primary controls to mitigate this:
- Max Questions per Session (hard usage cap)
- reCAPTCHA v3 (bot detection and blocking before AI calls)
Used together, they significantly reduce the risk of runaway token usage.
Control 1: Max Questions per Session
What it does
Max Questions per Session sets a hard ceiling on how many questions a single chat session can send to the AI. Once the limit is reached, the bot stops issuing additional AI requests, preventing further token spend from that session.
Why it prevents token drain
Even if a bot attempts to spam the chat UI, it cannot generate unlimited AI calls within the same session—usage is capped.
Where to configure
In your <ai12z-bot> configuration:
- Go to Settings
- Set Max questions per session
- (Optional) Set Message when reach the limit (recommended for clear UX)
- (Optional) Configure Auto Reset Timer to reset the session after a defined period of inactivity (or leave at
0if you want the cap to effectively require a new session)
Recommended settings (baseline)
- Max questions per session:
10–25(start at 20 for most sites) - Message when reach the limit: “You’ve reached the question limit for this session. Please try again later.”
- Auto Reset Timer:
30–60 minutes(or0if you prefer stricter behavior)
Control 2: reCAPTCHA v3
What it does
reCAPTCHA v3 helps detect automated traffic and assigns a risk score. Low-trust requests can be blocked or restricted before the chatbot sends an AI request.
Why it helps
reCAPTCHA reduces the chance that scripted traffic can repeatedly trigger AI calls, which protects against rapid token drawdown.
Where to configure
In your <ai12z-bot> configuration:
- Open the reCaptcha V3 tab
- Enable reCAPTCHA v3 and enter the required reCAPTCHA settings (e.g., keys) as prompted
- Apply the recommended scoring/allow rules for your environment
Recommended approach (baseline)
- Turn on reCAPTCHA v3 for any bot exposed on a public site
- Start with a moderate threshold and tighten if you see abuse (exact threshold depends on your site traffic patterns)
Best Practice: Use the combination
- Directive Bad Actor LLM detects bad actor, a directive allows you to add javascript to disable the bot
- Max Questions per Session guarantees a hard stop per session.
- reCAPTCHA v3 reduces automated traffic before it becomes token spend.
Together, they provide strong protection against common “spam the chatbot” abuse patterns.
View tab
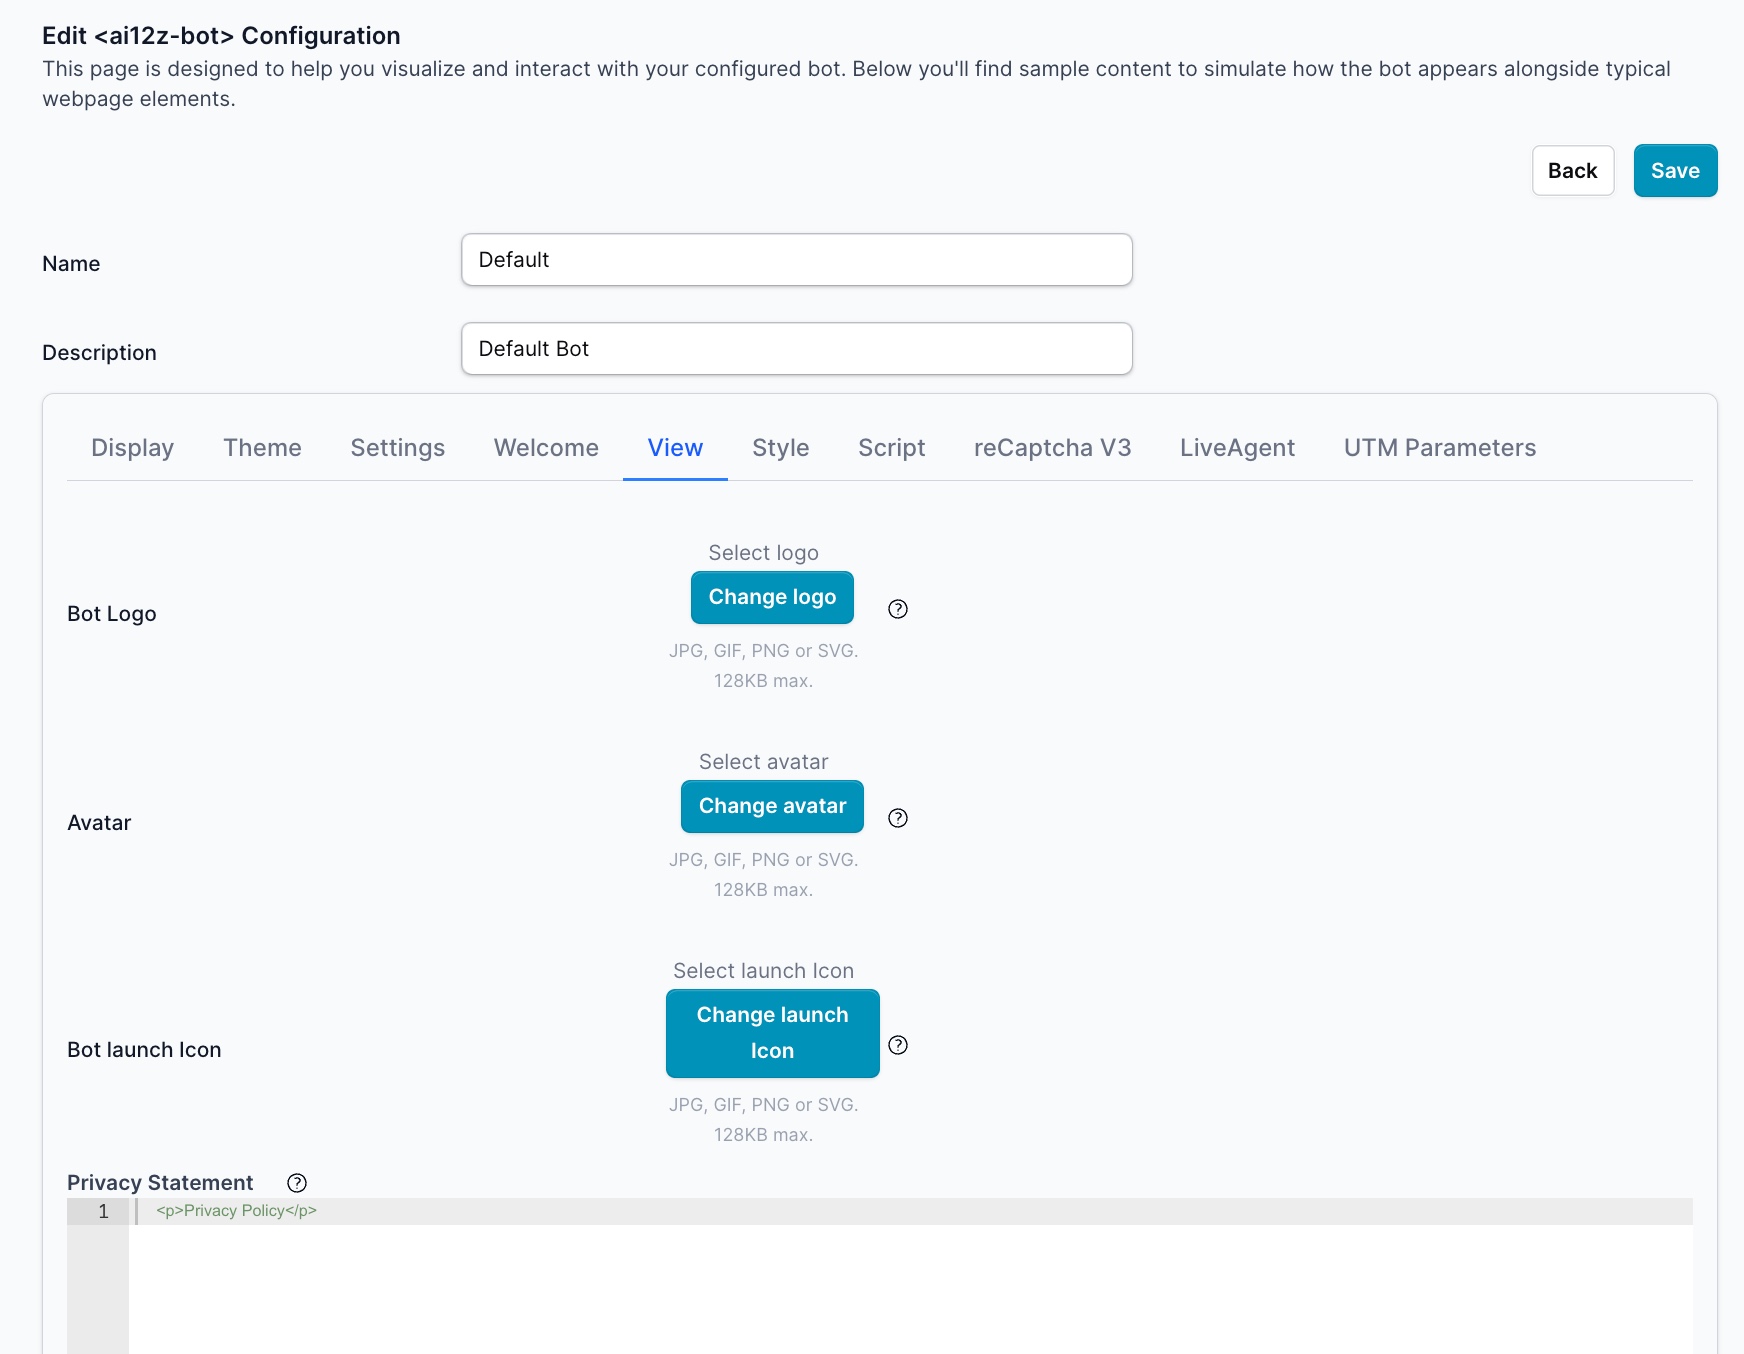
By default none are needed.
Privacy Statement
The Privacy Statement displays privacy information to users, typically as a brief notice with a link to your full privacy policy. Keep this concise and user-friendly.
Best Practices for Privacy Statement:
- Keep the message short and clear
- Link to your complete privacy policy page
- Include essential information about data collection
- Use reassuring language about data protection
Example Privacy Statement:
<p>
  Your privacy is important to us. We collect minimal information to provide
  better assistance.
  <a href="/privacy-policy" target="_blank">View our Privacy Policy</a>
</p>
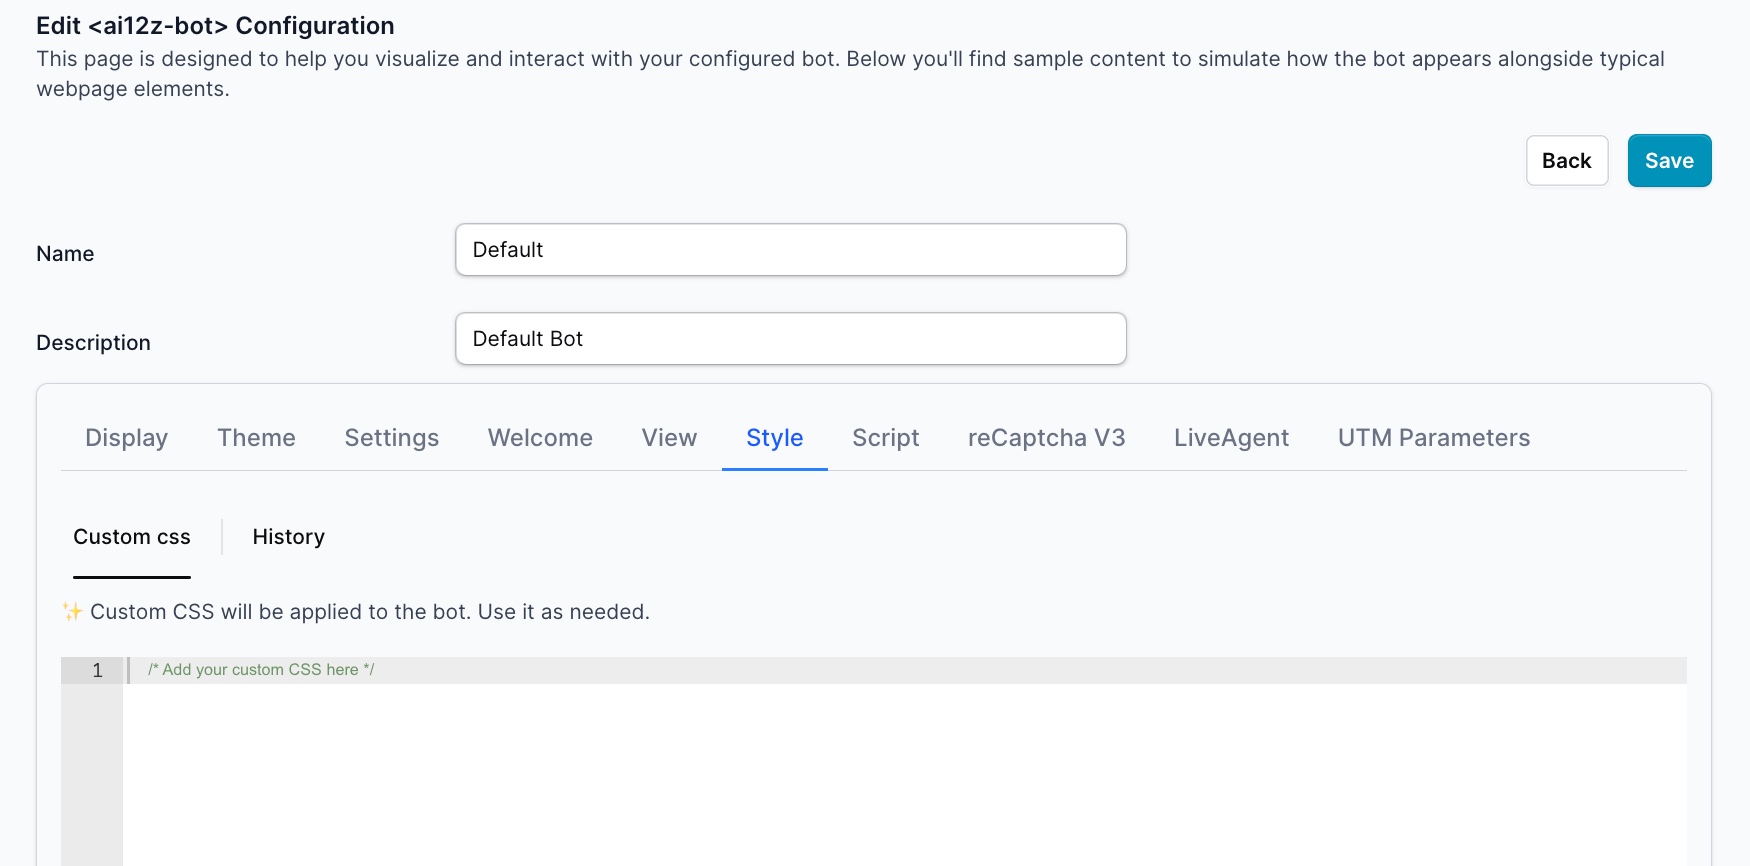
Style tab
Global Styles vs Welcome Message styles, any styles you need outside of the welcome message add here. This way when you update your welcome message it does not overwrite a custom style you added
div.modal {
  background-image: unset;
  background-color: #2095ae;
}
p {
  color: red;
}
fieldset.user-input-fieldset {
  background: red;
}
#template-container .carousel-card {
  background-color: yellow;
}
audio-recorder .mic-botIcon {
  fill: red;
}
.sv-header__background-color--accent .sv-header__description .sd-description {
  color: red !important;
}
Live Agent Tab
The Live Agent tab allows you to connect your BOT Search to a live agent platform, enabling seamless handoff from the AI assistant to a human agent when needed. When configured, the BOT can escalate conversations to a live support channel based on user intent or explicit request. Note: You need to set up liveAgent Directive
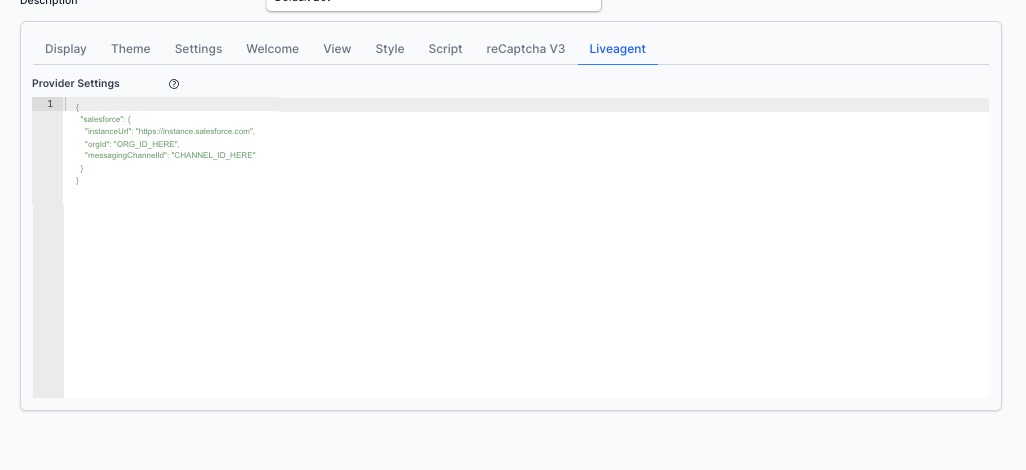
Provider Settings
The Provider Settings field accepts a JSON configuration object that defines your live agent provider and connection details. The structure varies by provider.
Salesforce Example
{
  "salesforce": {
    "instanceUrl": "https://instance.salesforce.com",
    "orgId": "ORG_ID_HERE",
    "messagingChannelId": "CHANNEL_ID_HERE"
  }
}
| Field | Description |
|---|---|
instanceUrl | The URL of your Salesforce instance (e.g., https://yourorg.my.salesforce.com) |
orgId | Your Salesforce Organization ID, found in Setup → Company Information |
messagingChannelId | The Messaging Channel ID for the Salesforce Messaging for In-App and Web channel configured for live agent handoff |
Getting Your Salesforce Values
- Instance URL — Log in to Salesforce and copy the base URL from your browser (e.g.,
https://yourorg.my.salesforce.com) - Org ID — Go to Setup → Company Information and copy the Salesforce Organization ID
- Messaging Channel ID — Go to Setup → Messaging Settings, open your Messaging for In-App and Web channel, and copy the Channel ID from the URL or channel detail page
How It Works
Once configured, the BOT can route users to a live agent when:
- The user explicitly requests a human agent
- The AI detects a conversation topic that should be handled by a human
- Configure a directive to triggers an escalation
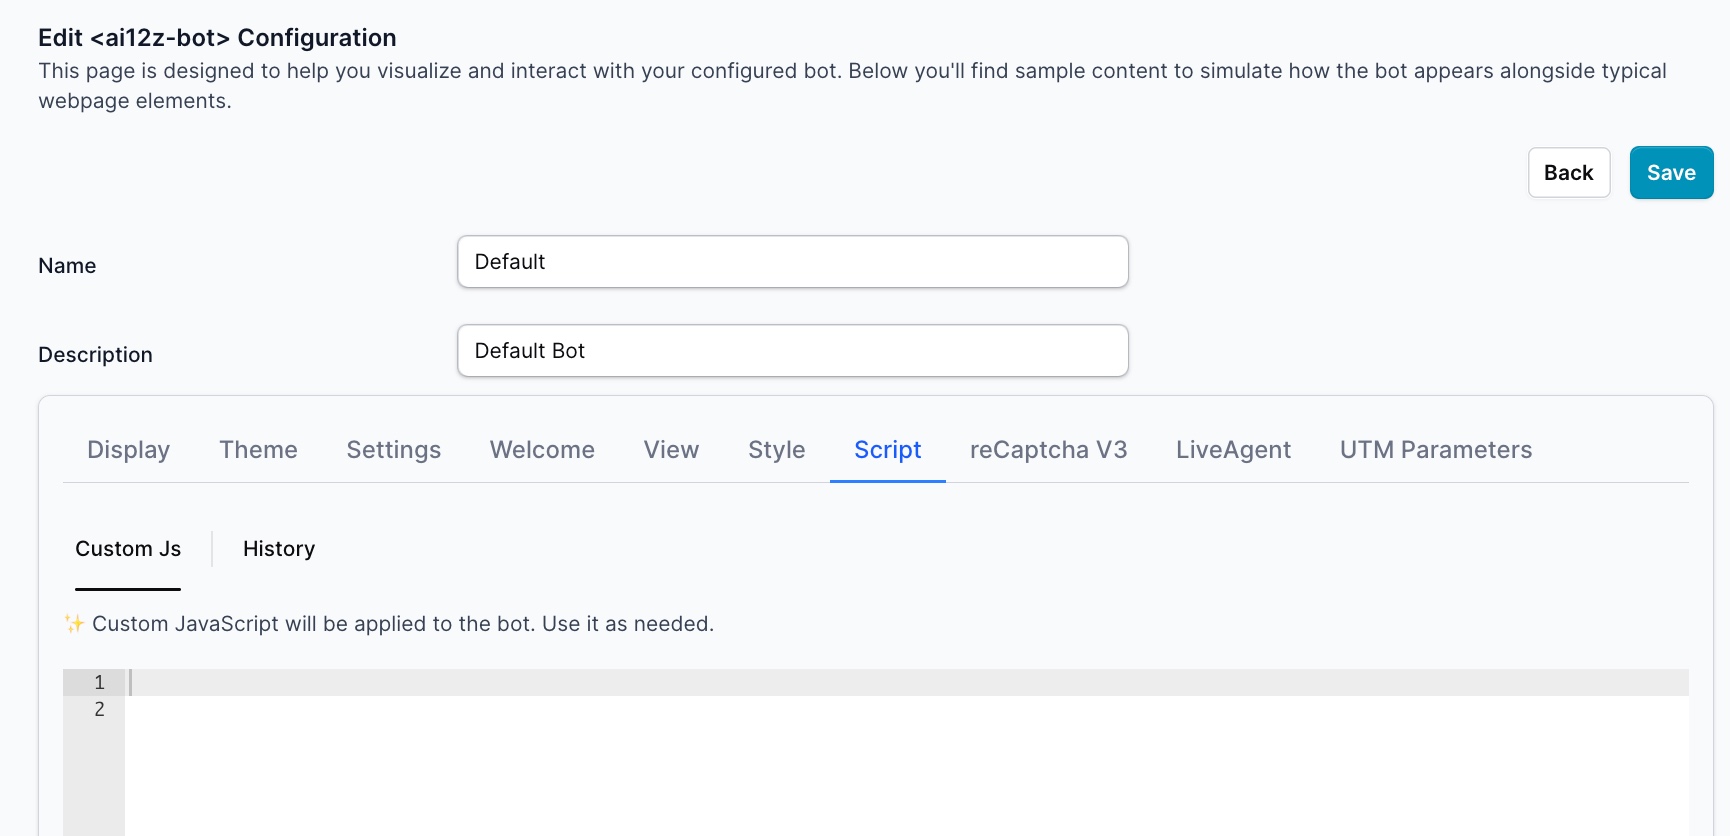
Script tab
Note all integrations and even welcome message have there own script tab. Put general purpose script here. If you have custom script not used in welcome message you can add it here. So when you make updates to welcome screen your changes are not lost
ai12z runs in a shadow dom, so to access a function it will not work if it exists in a js file.
The code below will not work
<input type="text" id="myTextField" value="hello" /> const textField =
document.getElementById('myTextField');
In a shadow dom, you need to access using querySelector
-
- First, get the host element (the element to which the shadow root is attached).
-
- Then, access the shadow root via .shadowRoot.
-
- After that, use regular DOM methods (like .querySelector) inside the shadow root.
Accessing and Manipulating HTML Elements in ai12z Bot Custom Scripts
ai12z allows you to add custom JavaScript functions to your bot for actions such as “Add to Cart,” opening links, or interacting with the page. When your function needs to interact with HTML elements (such as reading the value of a dropdown), you need to reference those elements relative to the button or UI element that triggered your script.
Example: Add to Cart Button With Quantity
Suppose you have an "Add to Cart" button and a quantity dropdown in your UI. You want your script to:
- Find the quantity selected by the user, and
- Show a confirmation with the title and selected quantity.
Here’s how you can do this:
function addToCart(button, title) {
  // Find the nearest select[name="qnty"] within the same container as the button
  var select = button.parentNode.querySelector('select[name="qnty"]')
  var qty = select ? select.value : 0
  alert("Added to cart: " + title + ", Quantity: " + qty)
}
How it works:
buttonis a reference to the button element that was clicked (passed by the bot’s event system).button.parentNodegets the container (parent) of the button..querySelector('select[name="qnty"]')looks for the<select>dropdown for quantity within that container.select.valuegets the selected quantity value.
This pattern ensures your script only accesses the dropdown that belongs to the same “card” or UI block as the button clicked—avoiding confusion if there are multiple product cards on the page.
General Guidance for Accessing HTML Elements
- Always use the button or element that triggers your function as the starting point.
- Use
parentNode,closest(), or other DOM traversal methods to reliably locate the relevant input, dropdown, or other element. - Avoid using
document.querySelectorglobally unless there is only ever one matching element—otherwise, you might get the wrong one!
Example: Open Link in a New Tab
function openLink() {
  window.open("https://www.google.com", "_blank")
}
Best Practices
- Keep selectors specific to the UI structure: Use
parentNodeor.closest()to scope your queries to the right container. - Check for nulls: Always check if the element exists before using its value.
- Use clear, descriptive function names: So it’s obvious what each script does when editing later.
UTM Parameters

Use the UTM Parameters tab to automatically append campaign tracking values to links rendered by the bot. This is useful when you want clicks from bot answers, search results, welcome links, or carousel cards to appear in analytics platforms such as GA4 or Adobe Analytics with a consistent attribution pattern.
What this setting does
When UTM tagging is enabled, the bot rewrites supported links at render time by adding the UTM query string you define in this tab.
Example:
- Original link:
https://example.com/pricing - Tagged link:
https://example.com/pricing?utm_source=ai12z-bot&utm_medium=chat&utm_campaign=website_bot
This lets your analytics tools attribute downstream visits, conversions, and sessions to traffic generated from the bot experience.
Enable
- Enable UTM tagging: Turns automatic UTM appending on or off for this bot configuration.
- When enabled, links rendered by the bot can be updated with the values defined in the UTM Values section.
Apply to
Use the Apply to checkboxes to control which bot link types receive UTM parameters.
- Answer links: Links rendered inside normal bot responses.
- Search result links: Links shown in search-style responses or result lists.
- Welcome panel links: Links displayed in the initial welcome or landing panel.
- Carousel/cards links: Links shown inside card and carousel UI elements.
Enable only the surfaces you want tracked. For example, some teams tag answer links and carousel links, but leave welcome links unmodified.
UTM Values
These fields define the query parameters that will be appended to supported links.
- utm_source: Identifies the traffic source. Example:
ai12z-bot - utm_medium: Identifies the channel or marketing medium. Example:
chat - utm_campaign: Identifies the campaign, initiative, or rollout. Example:
website_bot - utm_content: Optional field used to distinguish content variants, placements, or answer types. Example:
pricing_linkordemo_card - utm_term: Optional field commonly used for keyword, topic, or audience attribution.
Recommended pattern:
- Keep naming lowercase and consistent across properties.
- Use stable values that match your analytics team's taxonomy.
- Avoid changing
utm_sourceandutm_mediumtoo often unless you intentionally want separate reporting buckets.
Behavior
The Behavior section controls how the bot handles links that already include query parameters or existing UTM keys.
- Skip links that already contain any
utm_key (default): Leaves links unchanged if they already contain UTM parameters. - Merge: add missing key only: Adds only the UTM keys that are missing and preserves any existing UTM keys already present in the link.
- Overwrite: replace existing
utm_values: Replaces existing UTM values with the values from this configuration.
Choose the option that matches your governance model:
- Use Skip when links may already be tagged upstream by content authors or CMS workflows.
- Use Merge when you want to preserve partial tagging and fill in missing values.
- Use Overwrite when this bot configuration must enforce a single source of truth for campaign attribution.
Encoding
These options control how the UTM string is written.
- URL-encode values: Encodes spaces and reserved characters so links remain valid.
- Lowercase keys: Writes UTM keys in lowercase for consistency.
- Ignore empty values: Omits optional UTM fields that were left blank instead of appending empty parameters.
In most cases, keeping URL-encode values and Ignore empty values enabled is the safest default.
Preview
The Preview area helps validate the final URL before publishing.
- Test URL: Enter any sample destination URL.
- Result: Shows how the bot will rewrite that URL using the current settings.
Use the preview to verify:
- The correct separator is used (
?or&) - Existing query parameters are preserved as expected
- Existing UTM parameters are skipped, merged, or overwritten based on your selected behavior
- Optional empty fields are omitted when intended
Best Practices
- Align UTM values with your analytics or marketing team before publishing.
- Use one consistent
utm_sourcefor the bot so reports stay easy to filter. - Reserve
utm_contentfor variant-level tracking such as card type, CTA placement, or answer template. - Test at least one link from each enabled surface after publishing.
- Avoid mixing built-in UTM tagging with custom scripts unless you have a clear precedence rule.
When to use Custom JS instead
Use the built-in UTM Parameters tab when you want a standard configuration-driven setup.
Use Custom JS only when you need logic beyond the built-in UTM configuration, such as:
- domain allowlists or blocklists
- conditional tagging based on response type
- different UTM values for different cards or actions
- special handling inside custom CTA/chat render paths
Summary
When writing custom JavaScript for ai12z bot controls:
- Functions can be called by the bot when events occur (like button clicks).
- To access UI fields, use the triggering element as a reference point and traverse the DOM as needed.
- This keeps your code robust even when there are many interactive elements on the page.