ai12z Bot Configuration User Guide
Overview
The ai12x platform allows users to create and configure custom bots that can assist with various interactions on their website. This guide walks you through the process of setting up and customizing a bot.
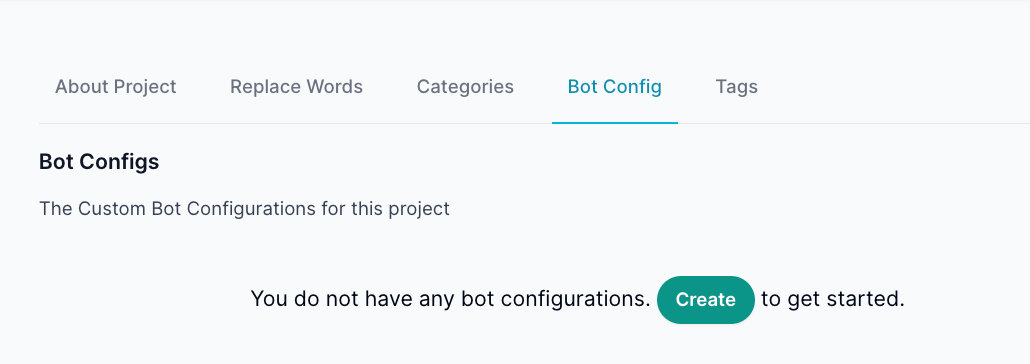
1. Accessing Bot Configuration
- Navigate to the Bot Config tab in the project settings.
- If no bot configurations exist, click the Create button to start a new configuration.
2. Creating a New Bot Configuration
When creating a bot, the following fields must be completed:
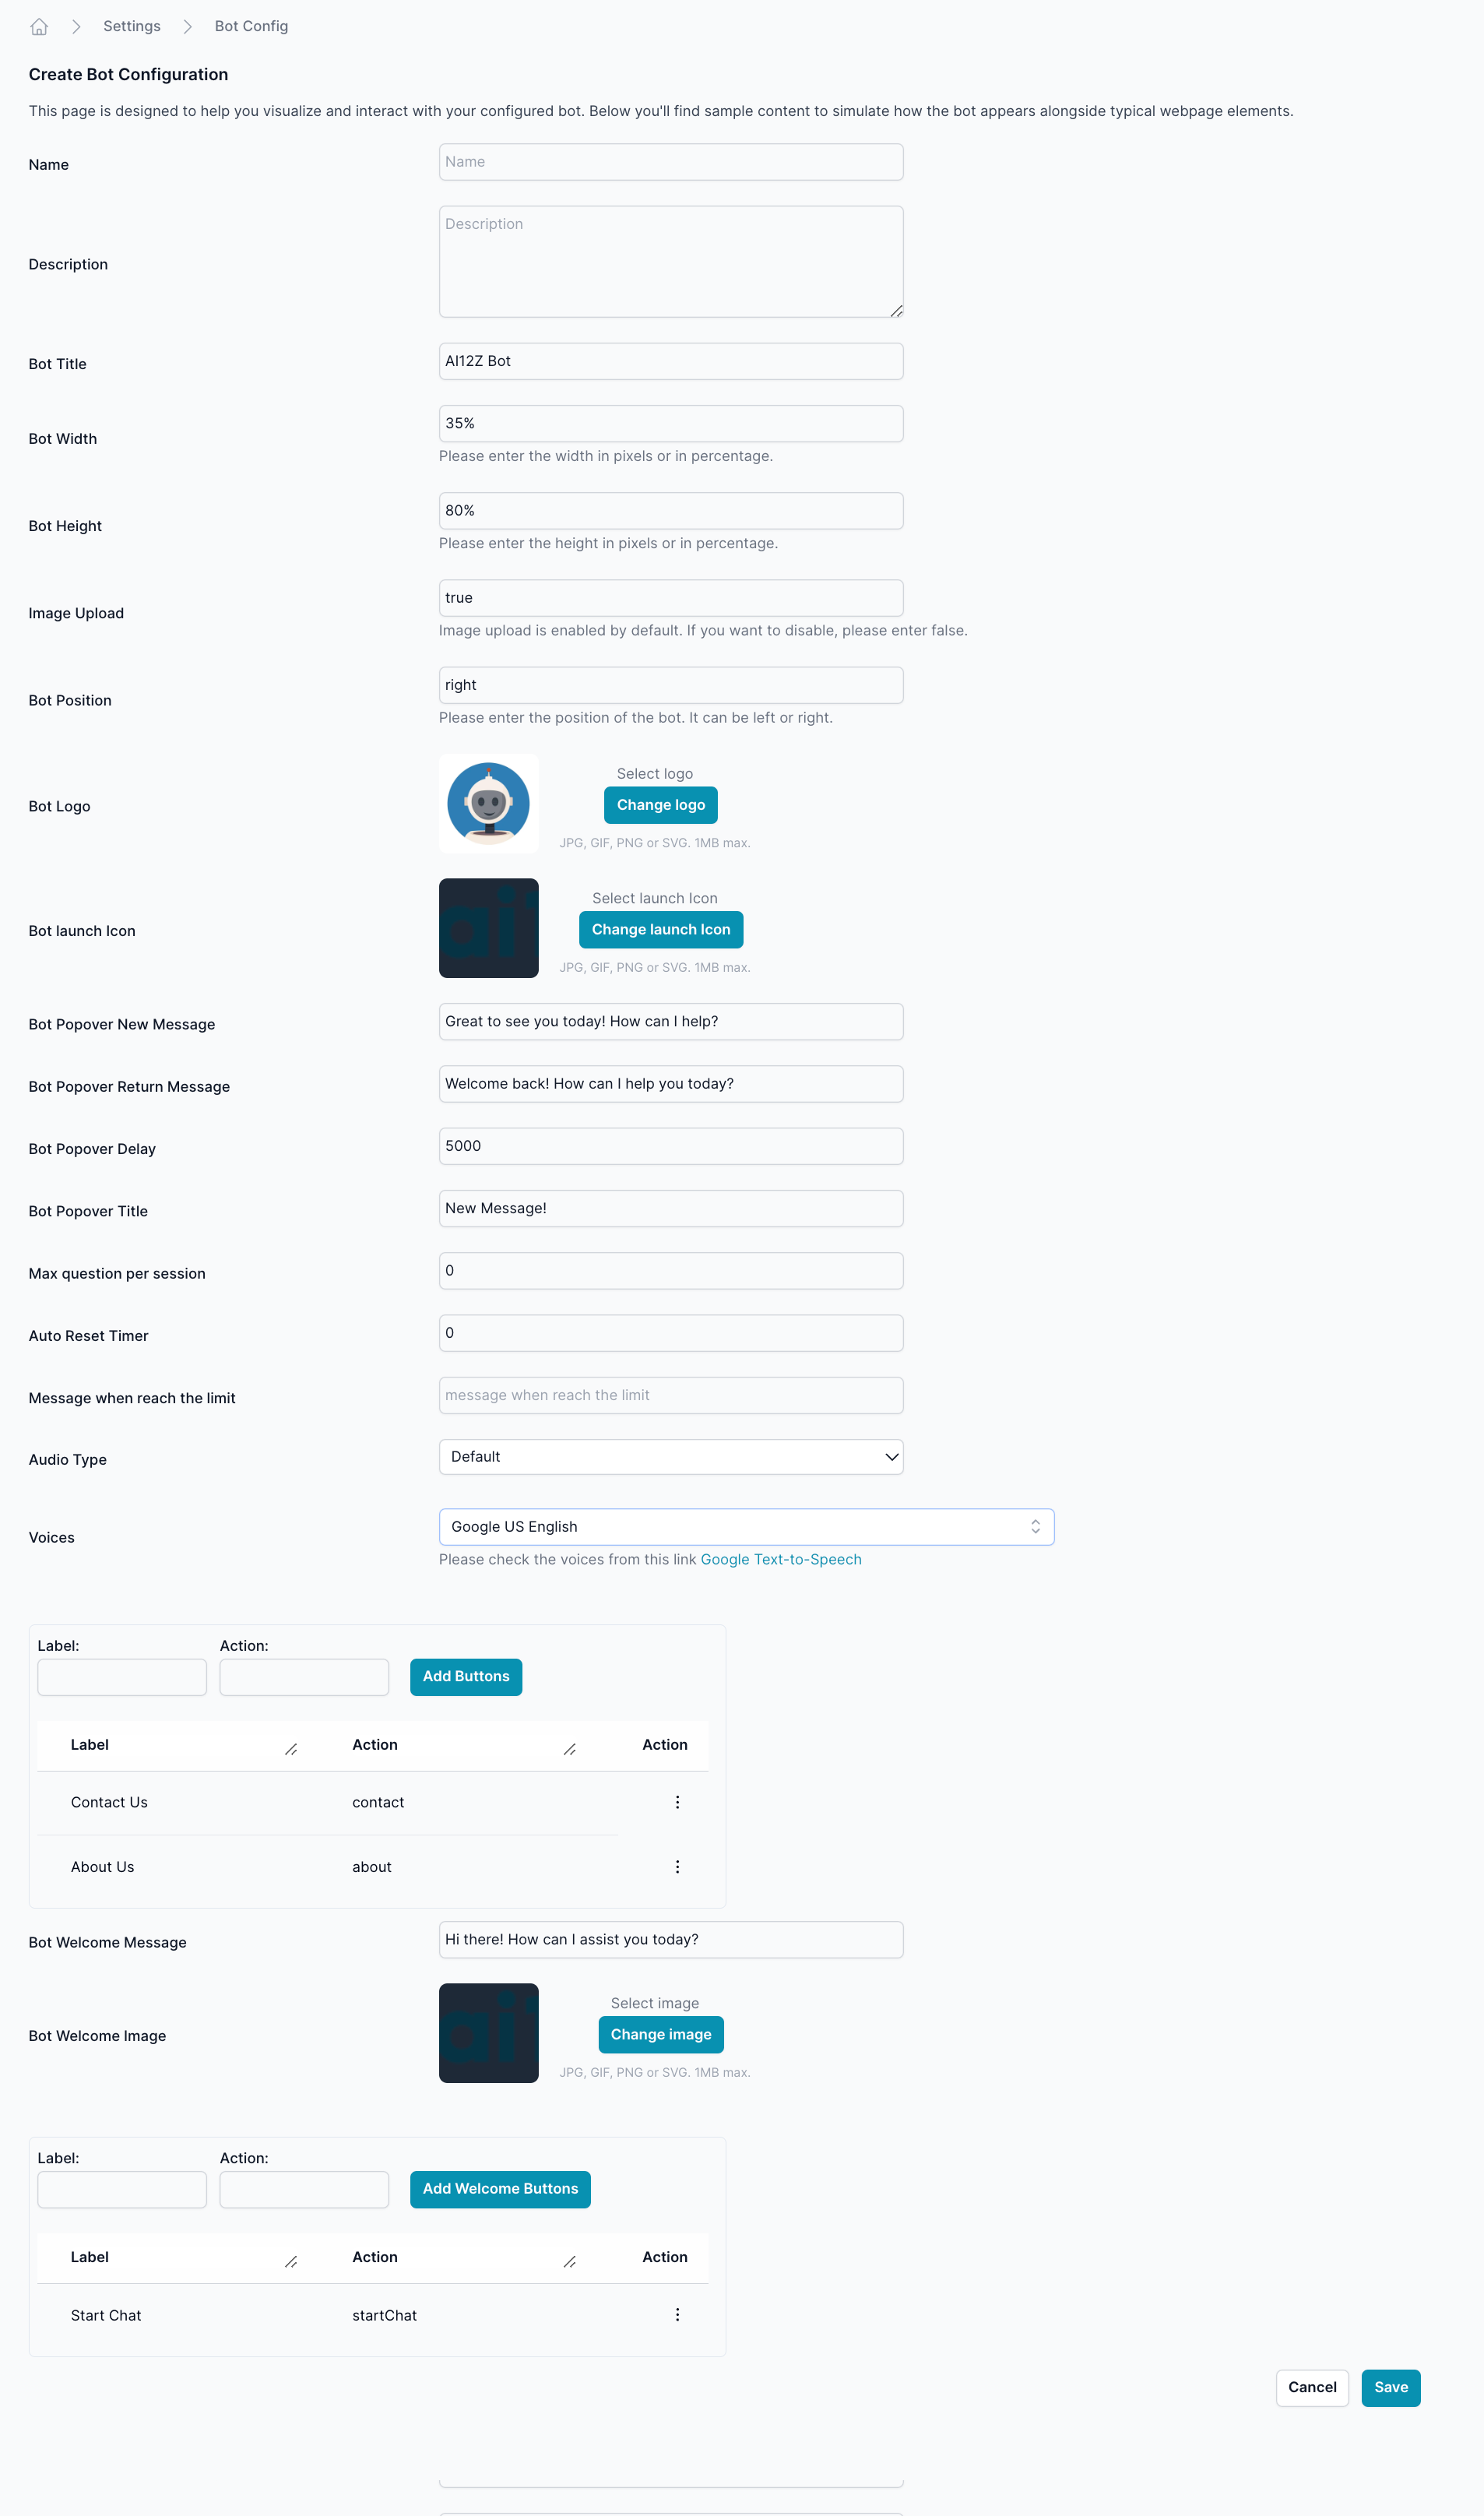
Basic Information
- Name: Enter a unique name for the bot.
- Description: Provide a brief description of the bot's purpose.
Appearance Settings
- Bot Title: The title displayed on the bot pop-up.
- Bot Width: Define the bot's width (percentage or pixel-based).
- Bot Height: Define the bot's height (percentage or pixel-based).
- Image Upload: Enable (
true) or disable (false) image uploads. - Bot Position: Choose the bot's position on the webpage (
leftorright).
Branding
- Bot Logo: Upload a logo (JPG, GIF, PNG, or SVG – 1MB max).
- Bot Launch Icon: Upload an icon for the bot's launcher.
Behavior & Messages
- Bot Popover New Message: Message displayed when the bot first appears.
- Bot Popover Return Message: Message displayed when a returning user interacts with the bot.
- Bot Popover Delay: Time (in milliseconds) before the pop-up appears.
- Bot Popover Title: Title displayed on the bot pop-up.
- Max Questions per Session: Limits the number of questions a user can ask per session (
0for unlimited). - Auto Reset Timer: Time (in seconds) after which the bot resets.
Audio Settings
- Message on Limit Reach: Custom message displayed when the max question limit is reached.
- Audio Type: Select from available audio playback options.
- Voices: Choose a voice from the Google Text-to-Speech library.
3. Configuring Bot Buttons
Main Interaction Buttons
Users can add buttons for quick interactions:
- Enter a Label (e.g., "Contact Us").
- Choose an Action (e.g.,
contact,about). - Click Add Buttons to include the new button.
Bot Welcome Message & Image
- Bot Welcome Message: The first message the bot displays when a user interacts.
- Bot Welcome Image: Upload an image to be displayed with the welcome message.
Welcome Buttons
- Add welcome buttons similar to the main interaction buttons.
- Example:
- Label: "Start Chat"
- Action:
startChat
4. Saving & Deploying the Bot
- After configuring the bot, click Save to apply changes.
- The bot will now be available on the designated webpage.
Notes
- Ensure that uploaded images do not exceed 1MB in size.
- You can always edit an existing bot configuration to make updates.
This guide provides a step-by-step process to help you successfully configure and deploy a bot on your website using ai12z.
Would you like any additional customization options included in this documentation?