Creating A Project
Overview
Projects in your system represent AI Assistant for different use cases. For example your organization may deploy a AI Assistant on their public website, or a AI Assistant for HR or IT support.
Navigate to Projects
Navigate to projects by clicking on the left hand navigation "Projects"
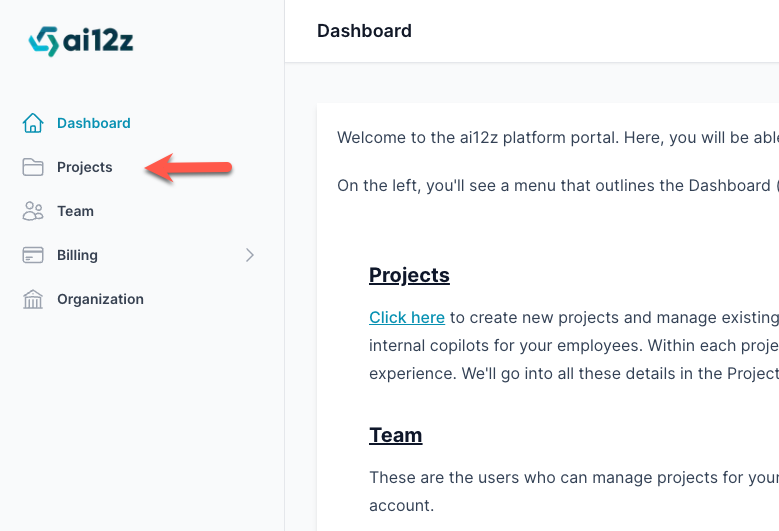
Steps on Creating a New Project
To begin setting up a new project:
- Click on 'Projects' in the left-hand navigation menu.
- Click the 'Create' button in the top right corner of the 'All Projects' page.
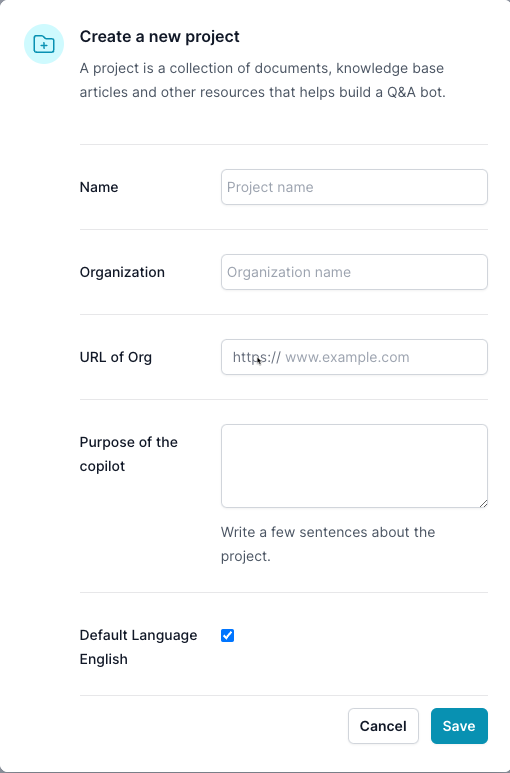
- In the 'Create a new project' form, enter the following details:
- Name: Provide a distinctive and descriptive name for your project.
- Organization: Organization that this is for, Since an Agency could be creating the project it may be different than the Agency Organization
- URL of the Org: Enter the URL of the organization
- Purpose of the copilot: Write a brief summary that outlines the project's purpose, its intended users, and any other pertinent information that provides context.
- Default Language English: It is a best practice to ingest only one language so not to repeat information in the vector DB. If the default language is not English uncheck this, and it will use a different embedding model.
- After reviewing the details for accuracy, click the 'Save' button.
Make sure this information is accurate
When clicking Save, AI will use the above information to quiry a LLM for more information of the Organizat and then create the prompt and system prompt personalized to the organization.
After saving, the new project will be listed on the 'All Projects' page along with other existing projects.
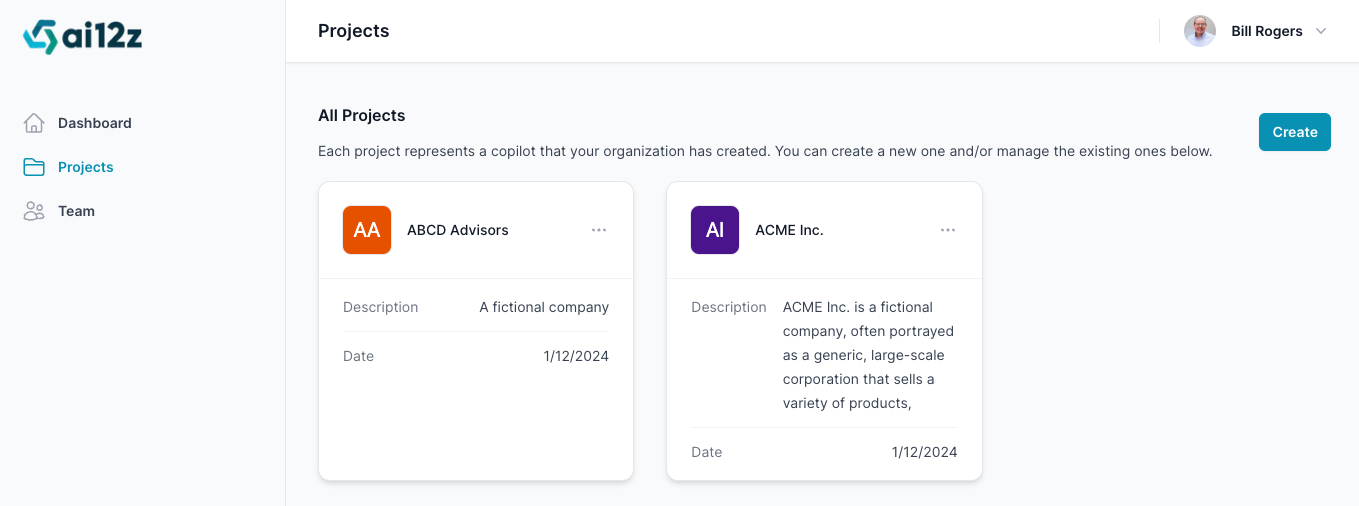
Project cards
Each project is represented by a card that displays key information:
- Initials or Logo: A colored square with the initials of the project, which can be customized with your project or company logo.
- Project Name: The name of the project is displayed on the card.
- Description: A brief description of the project's purpose, such as "Web and call center PDFs".
- Date: The creation date or last updated date of the project.
- Action: The dot dot dot ... menue to
view,edit,export,import
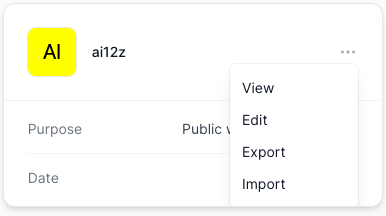
Edit project properties
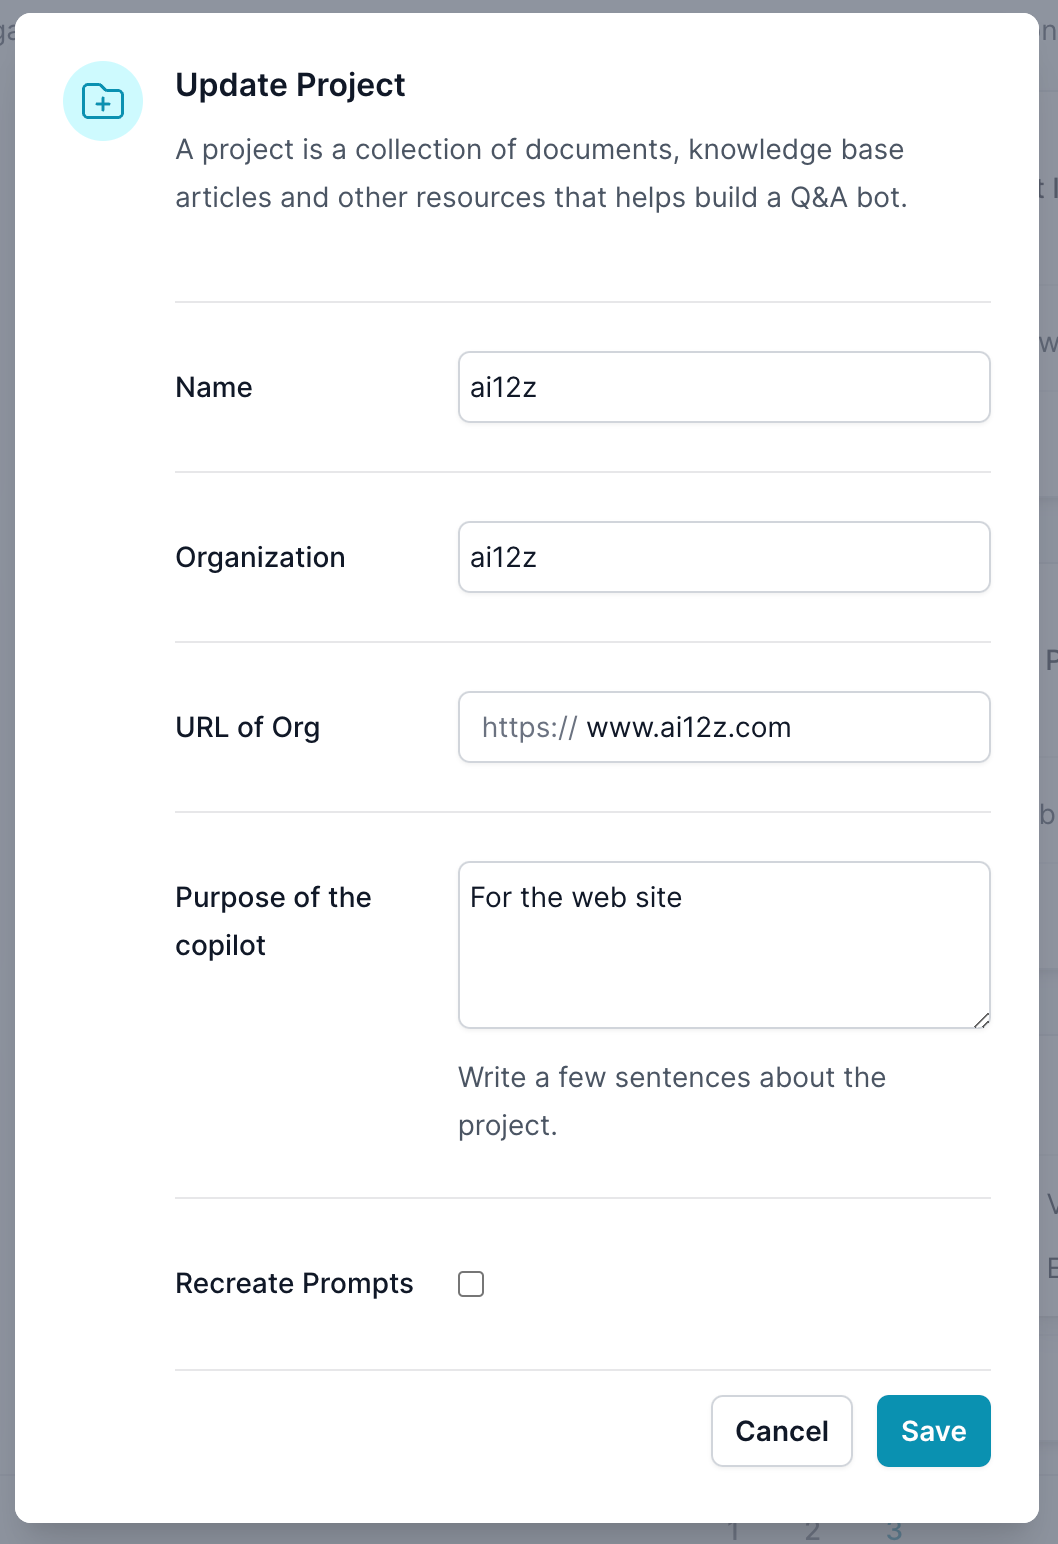
When you re-edit the project properties, clicking the check box, Recreate Prompt, will recreate the prompts, in prompt dialog and promps in the Answer AI, and ReAct system prompt only the Prompt dialog.
Remember to use the real Organization name and the Organization URL for who the copilot is for. If you are an interactive Agency, then use your clients information and state the purpose of the copilot. When re-building the prompts the organization brand and purpose will be created into the prompts.