Storyblok
ai12z Storyblok Connector Setup Guide
Prerequisites
- A Storyblok account with an active Space
- Admin access to both the ai12z portal and the Storyblok dashboard
Step 1: Add Connector
- Log in to the ai12z portal.
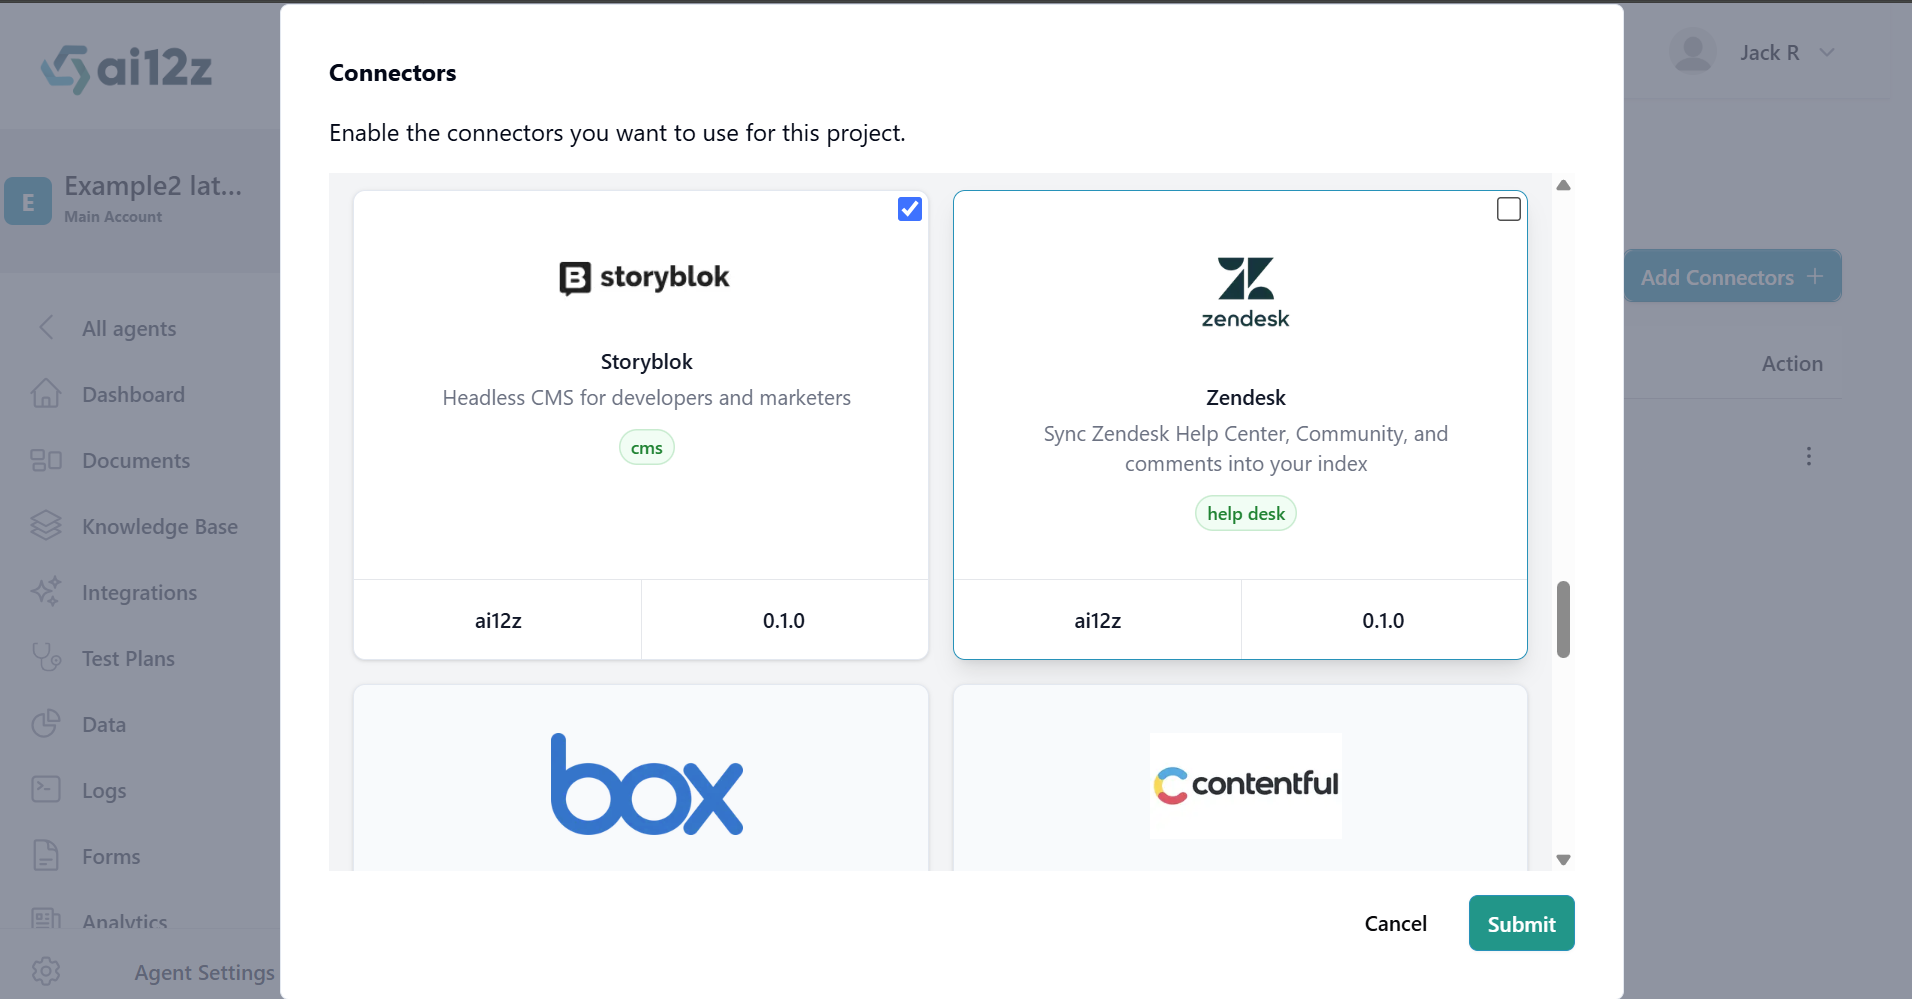
- Open Connectors from the left navigation and click Add Connectors.
- Select Storyblok and submit.
Step 2: Configure Connector
-
Open Connectors and click the row action on Storyblok to edit.
-
In the Connector Configuration screen, fill out the following fields:
- Name – Display name for the connector (e.g., "My Storyblok Site").
- Description – Brief description of the connector (e.g., "Corporate blog content").
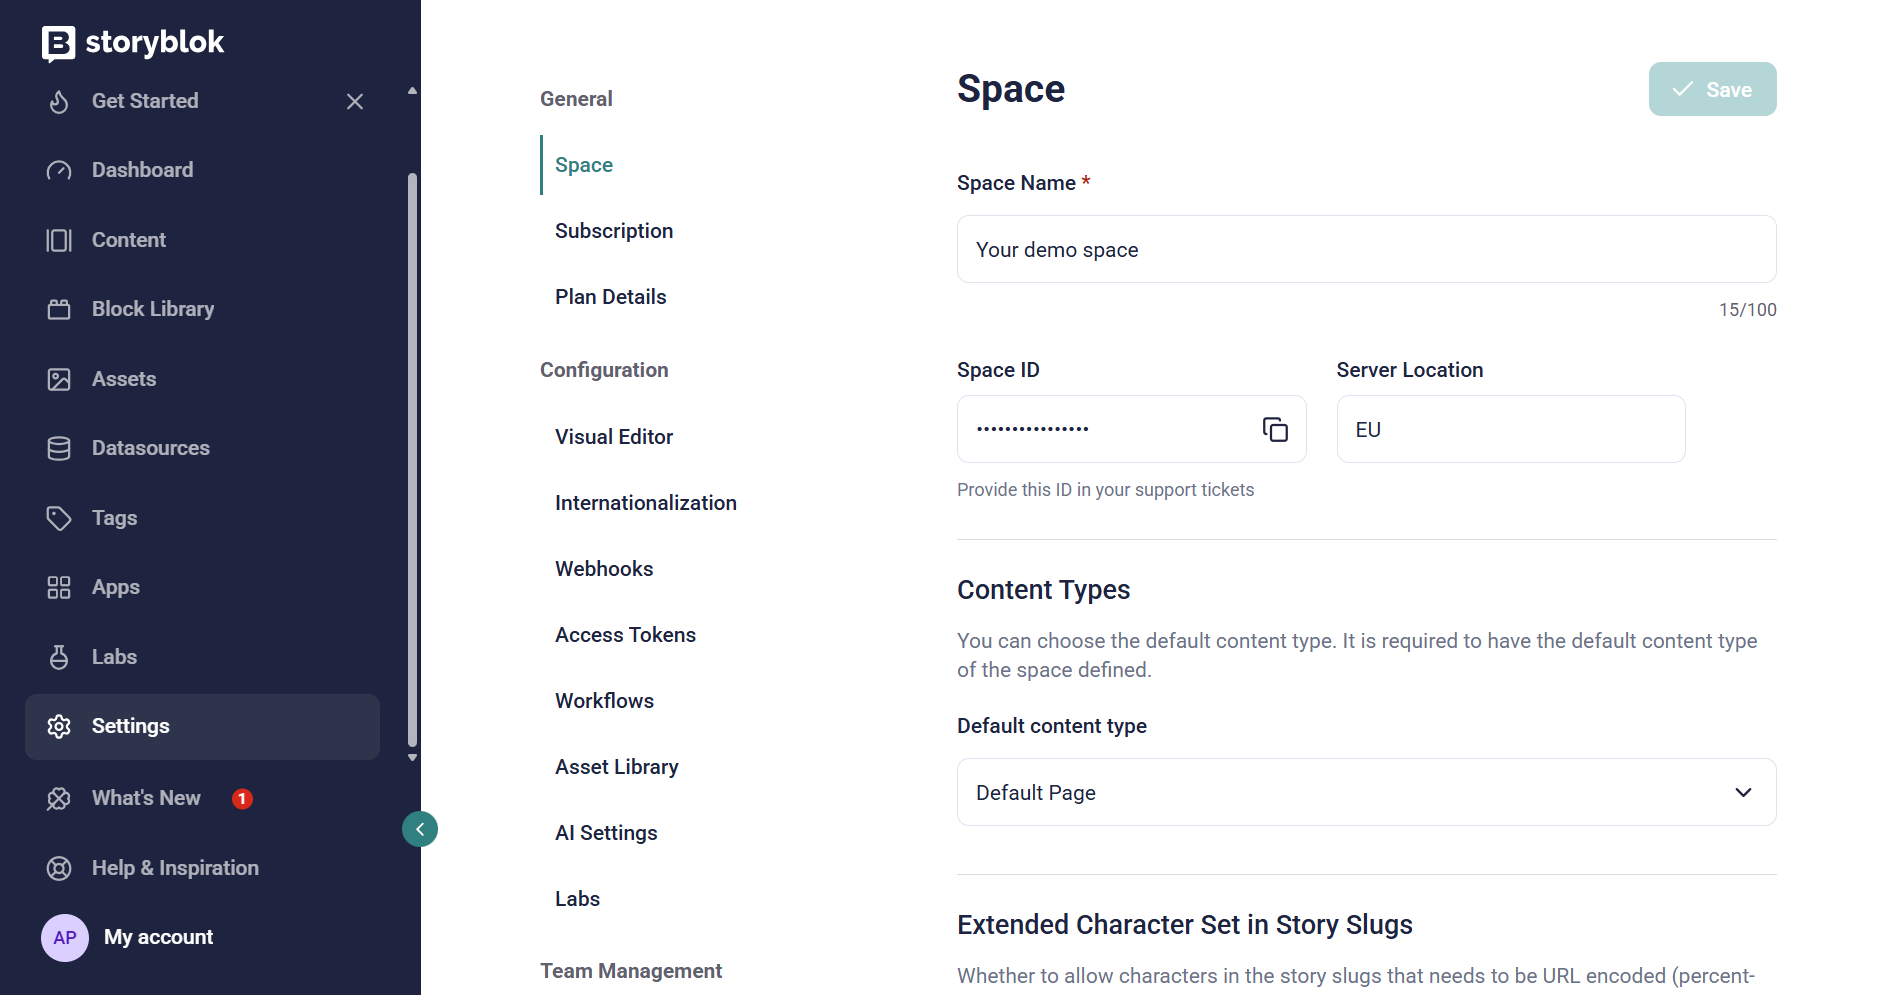
- Space ID – The unique numeric identifier of your Storyblok Space. Found in Storyblok Dashboard → Settings → General.
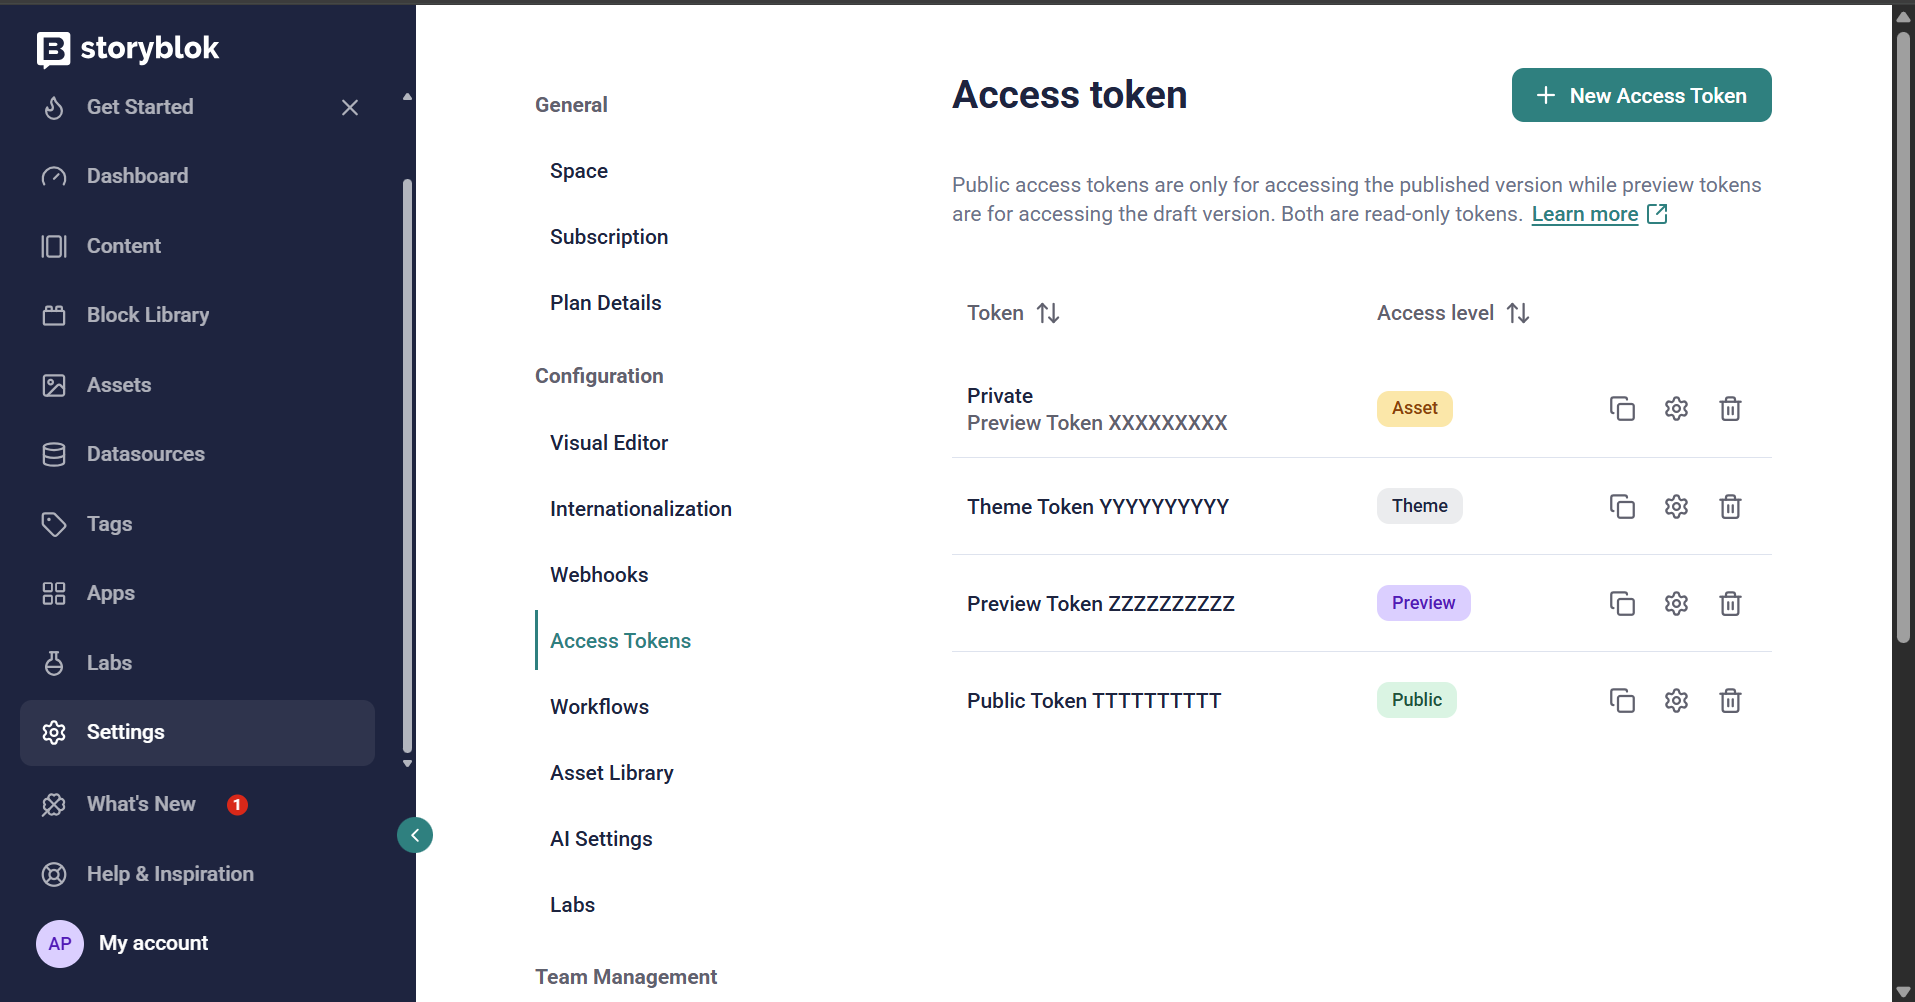
- Public Access Token – Token used to retrieve published content. Found in Storyblok Dashboard → Settings → Access Tokens.
- Asset Token - Token used to retrieve the private asset.
- Management Token - Token used to retrieve the single asset when webhook triggers from storyBlok portal.
- Site URL – The domain configured for your Storyblok Space (e.g.,
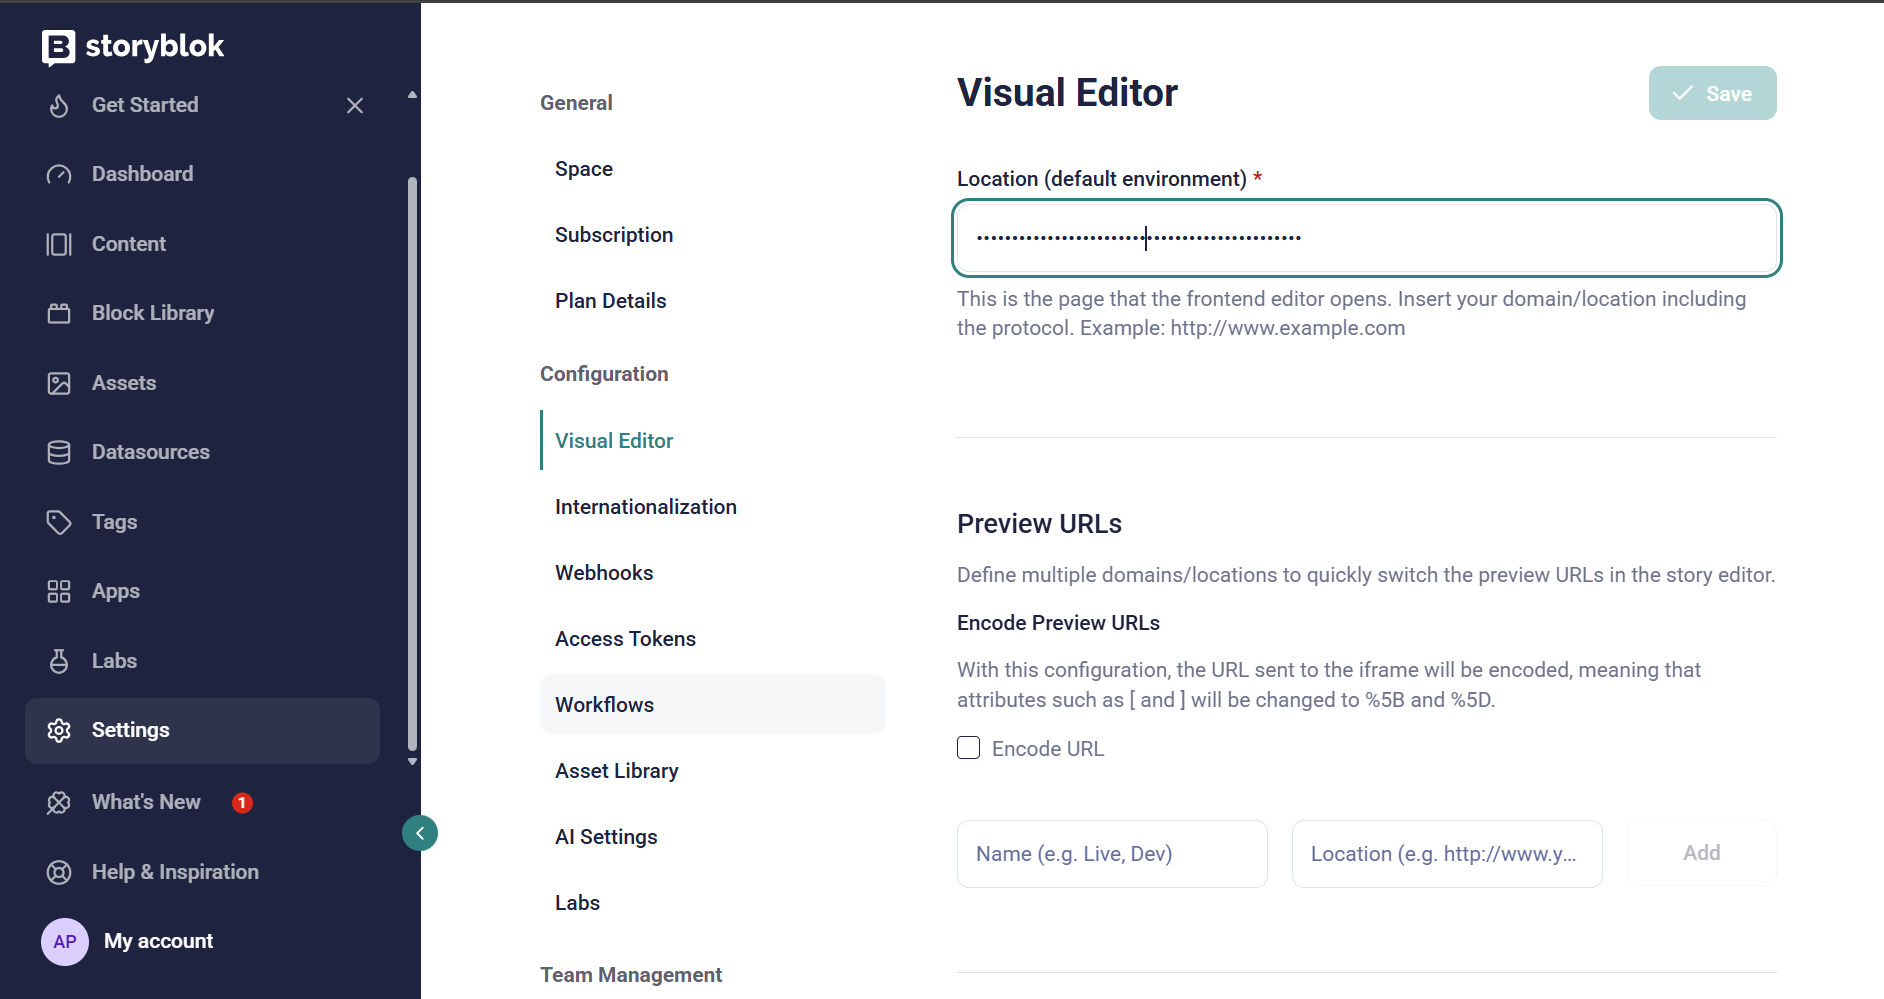
https://your-site.com). Found in Storyblok Dashboard → Settings → Visual Editor → Location. Required. - Signing Secret - Secret to verify the webhook headers signature(Required). The same secret must be entered in the Storyblok webhook's Secret field, otherwise every notification is silently dropped.
- API Region – Select the region where your Storyblok Space is hosted (
USorEUorCNorAPorCA). Defaults toEU.
-
Click Save.
-
Once the configuration is successfully saved, the Sync Now action buttons become available.
2.1 Locating Your Storyblok Credentials
Access Token
- Log in to your Storyblok account and open your Space.
- Navigate to Settings → Access Tokens from the left sidebar.
- Copy the Public token (for read access to published content) or generate a new one if needed.
Space ID
- In the Storyblok dashboard, navigate to Settings → General.
- The Space ID is displayed at the top of the General settings page as a numeric value (e.g.,
123456).
Site URL
- In Storyblok, navigate to Settings → Visual Editor.
- The Site URL is listed under the Location field (e.g.,
https://your-site.com).
Management Token
- Navigate to My Account → Personal access tokens (top-right profile menu).
- Click Generate new token, give it a name, and copy the value immediately — it won't be shown again.
Signing Secret
- When adding a webhook in Storyblok (Settings → Webhooks → Add Webhook), a Secret field is available.
- Enter a custom secret string or let Storyblok generate one, then copy it into the ai12z Signing Secret field.
2.2 Configure Webhook
- Click the Configure Webhook button in the ai12z portal.
- Copy the generated Webhook Endpoint URL displayed on the screen.
- In the Storyblok dashboard, navigate to Settings → Webhooks and click Add Webhook.
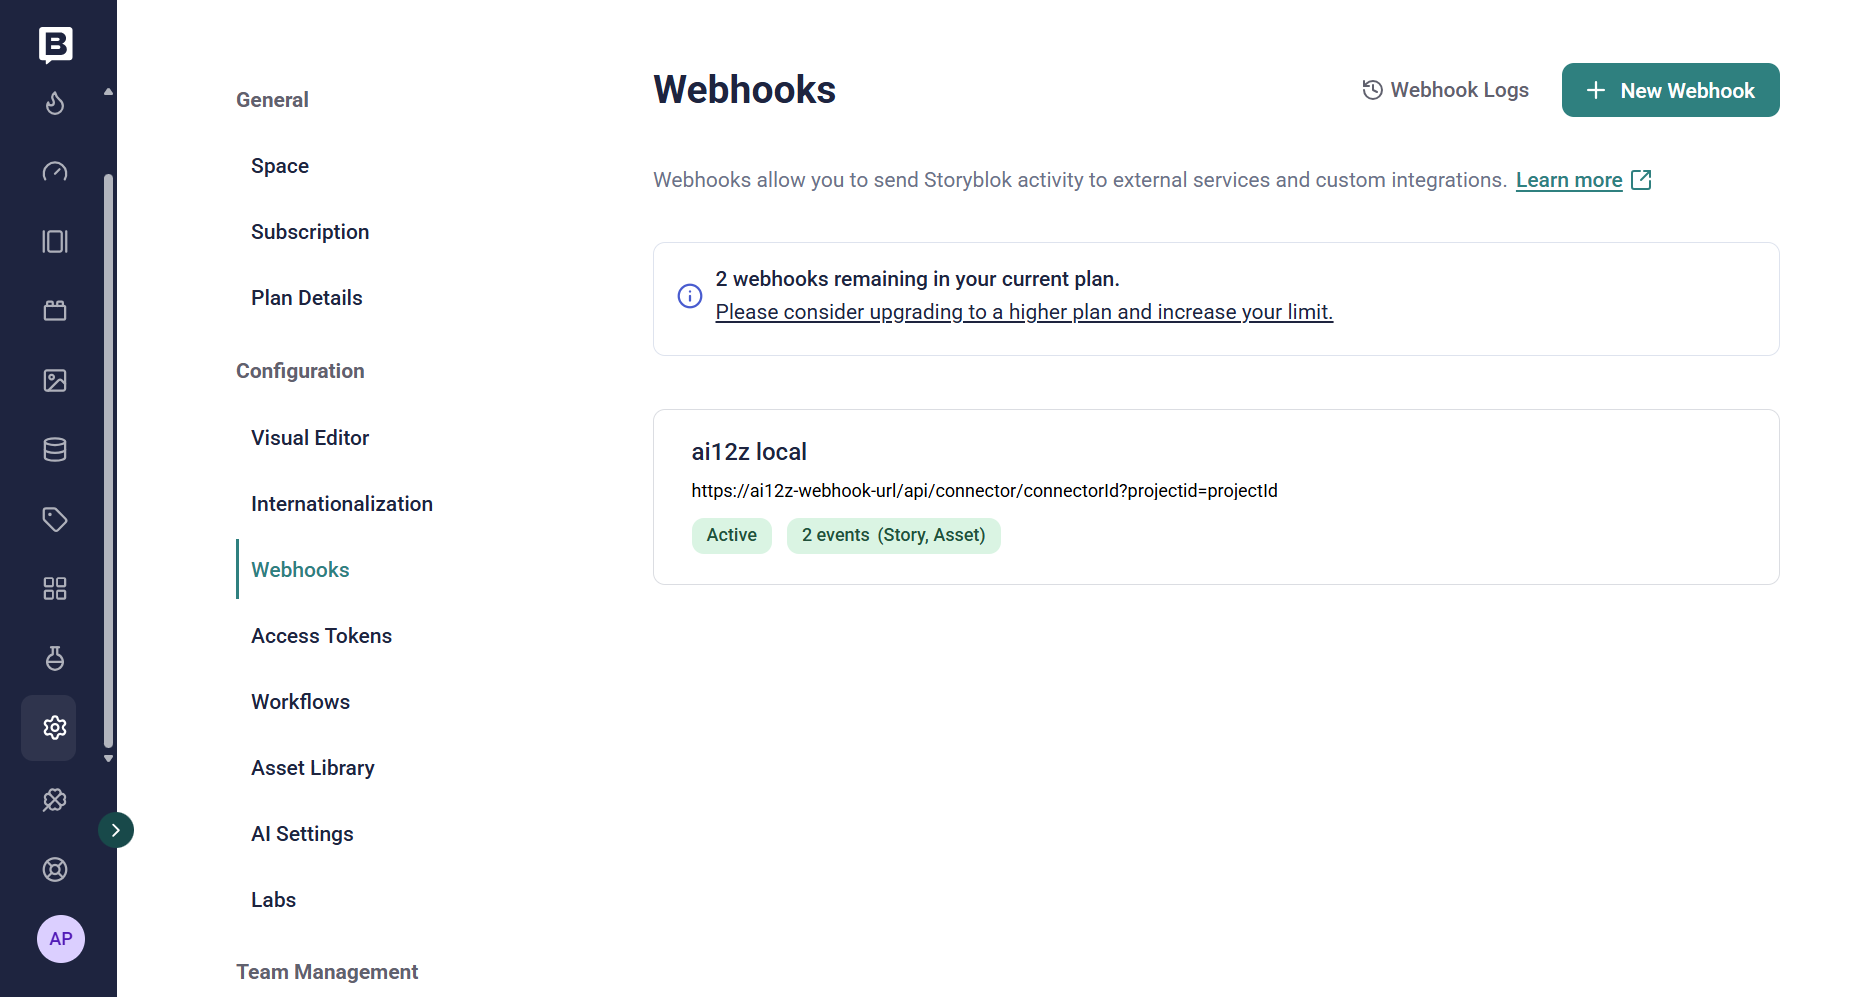
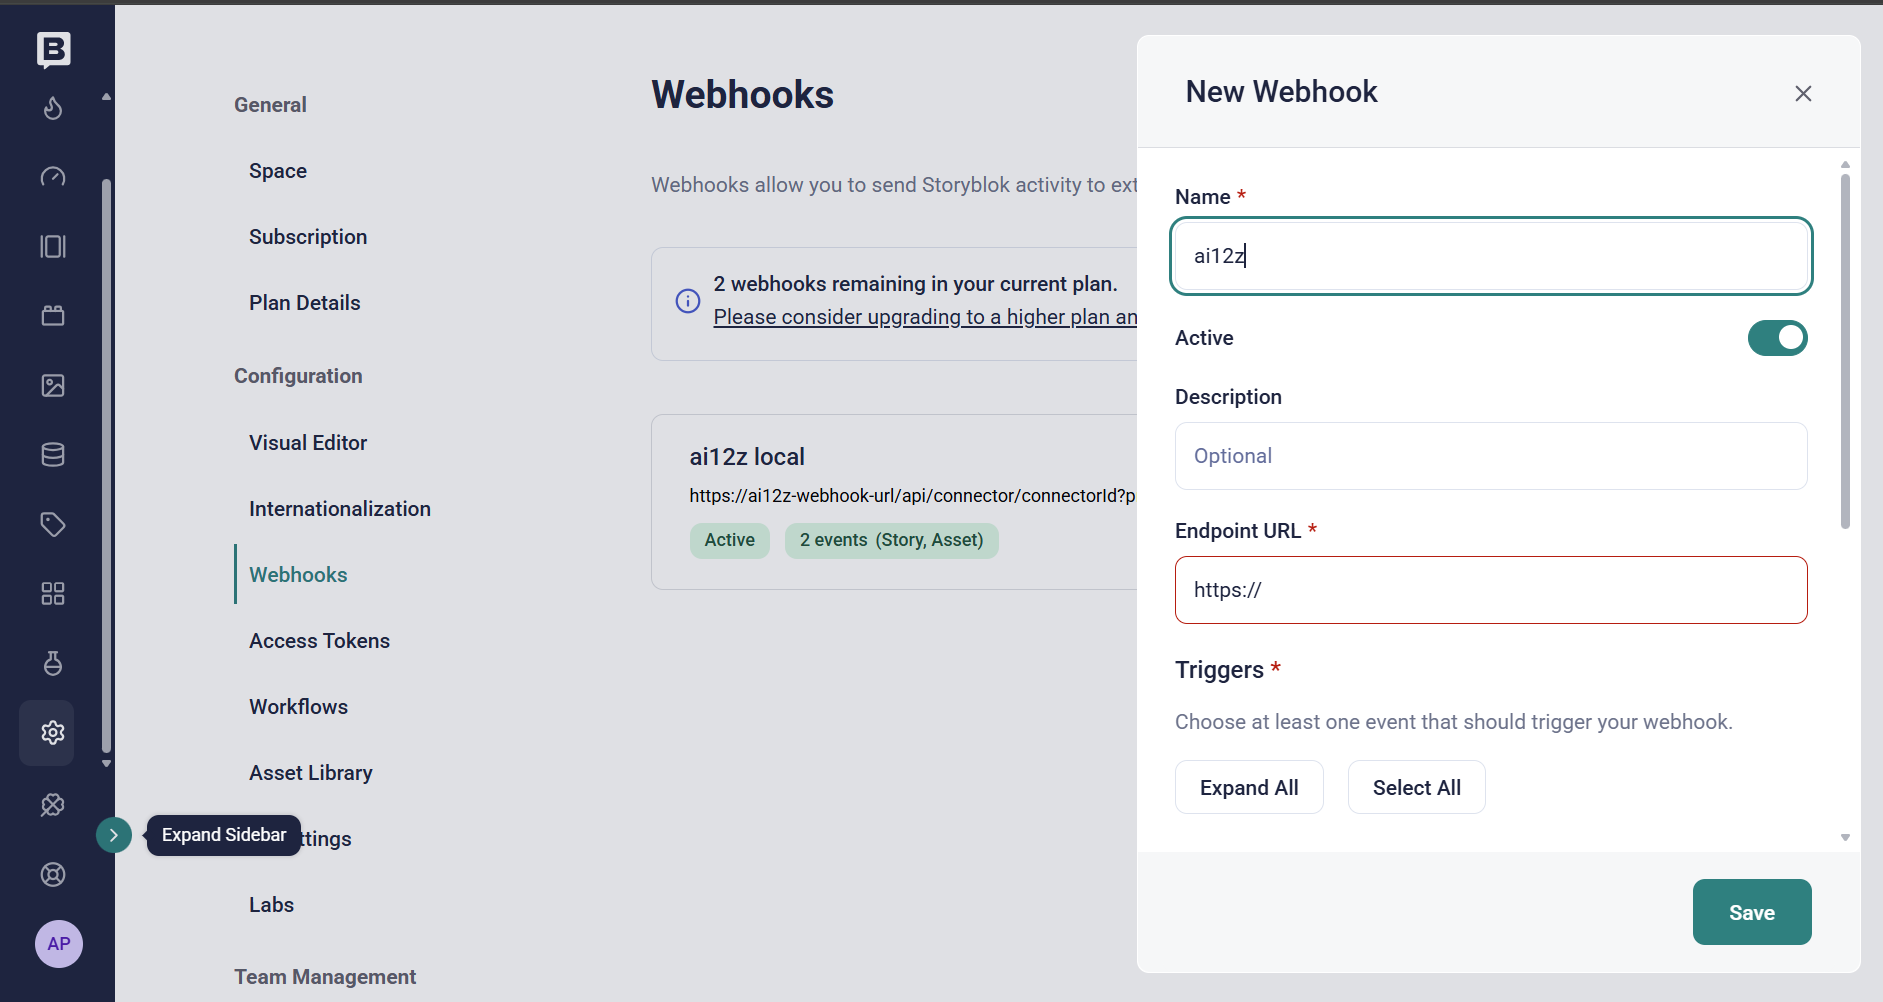
- Paste the endpoint URL into the Webhook URL field.
- Under Triggers, enable the following checkboxes:
- Story –
published,unpublished,moved,deleted - Asset –
created,replaced,deleted
- Story –
- In the Secret field, paste the same value you entered as the Signing Secret in the ai12z connector configuration. This must match exactly — mismatches cause every notification to be silently rejected.
- Save the webhook in Storyblok.
- The webhook will now notify ai12z whenever stories or assets are created, updated, or deleted in your Space.
- Verify that the webhook appears as active in the Storyblok Webhooks dashboard.
2.3 Sync Now
- Click the Sync Now button to initiate a full content sync.
- ai12z will fetch all published stories from your Storyblok Space and index them.
- The sync duration depends on the volume of content in your Space.
- A confirmation message will appear once the sync completes successfully.
- You can now query the Storyblok content through the ai12z Agent.
Step 3: Verify Integration
- Navigate to the ai12z Agent where you configured the Storyblok connector.
- Go to the Documents section and select the Storyblok connector document.
- Verify that stories from Storyblok are displayed correctly under the Vector tab.
- Test the integration by querying Storyblok content through the ai12z Agent chat.
Source Reference
For more information on the Storyblok API and its capabilities, refer to the official documentation: